How to use affinity diagrams to empower students

Table of Contents
Affinity mapping in education
Affinity mapping is a way of organizing thoughts from brainstorming.
While affinity diagrams are perhaps most used by user experience (UX) professionals, teachers can adapt the process to suit educational settings. Educators can use it as a teaching tool to encourage free thinking; it even has its place as a revision method. Because affinity mapping is an extension of brainstorming, it gives pupils the freedom to explore their thoughts. This can be an empowering learning experience.
Affinity mapping has traditionally been completed with sticky notes on walls or whiteboards. But with today’s technology, such as Explain Everything’s online whiteboard, you can digitize the process – introducing new opportunities for collaboration and making it easier to save findings.
What is an affinity diagram?
An affinity diagram, also known as an affinity chart or affinity map, is a visual method of organizing thoughts from a brainstorming session.
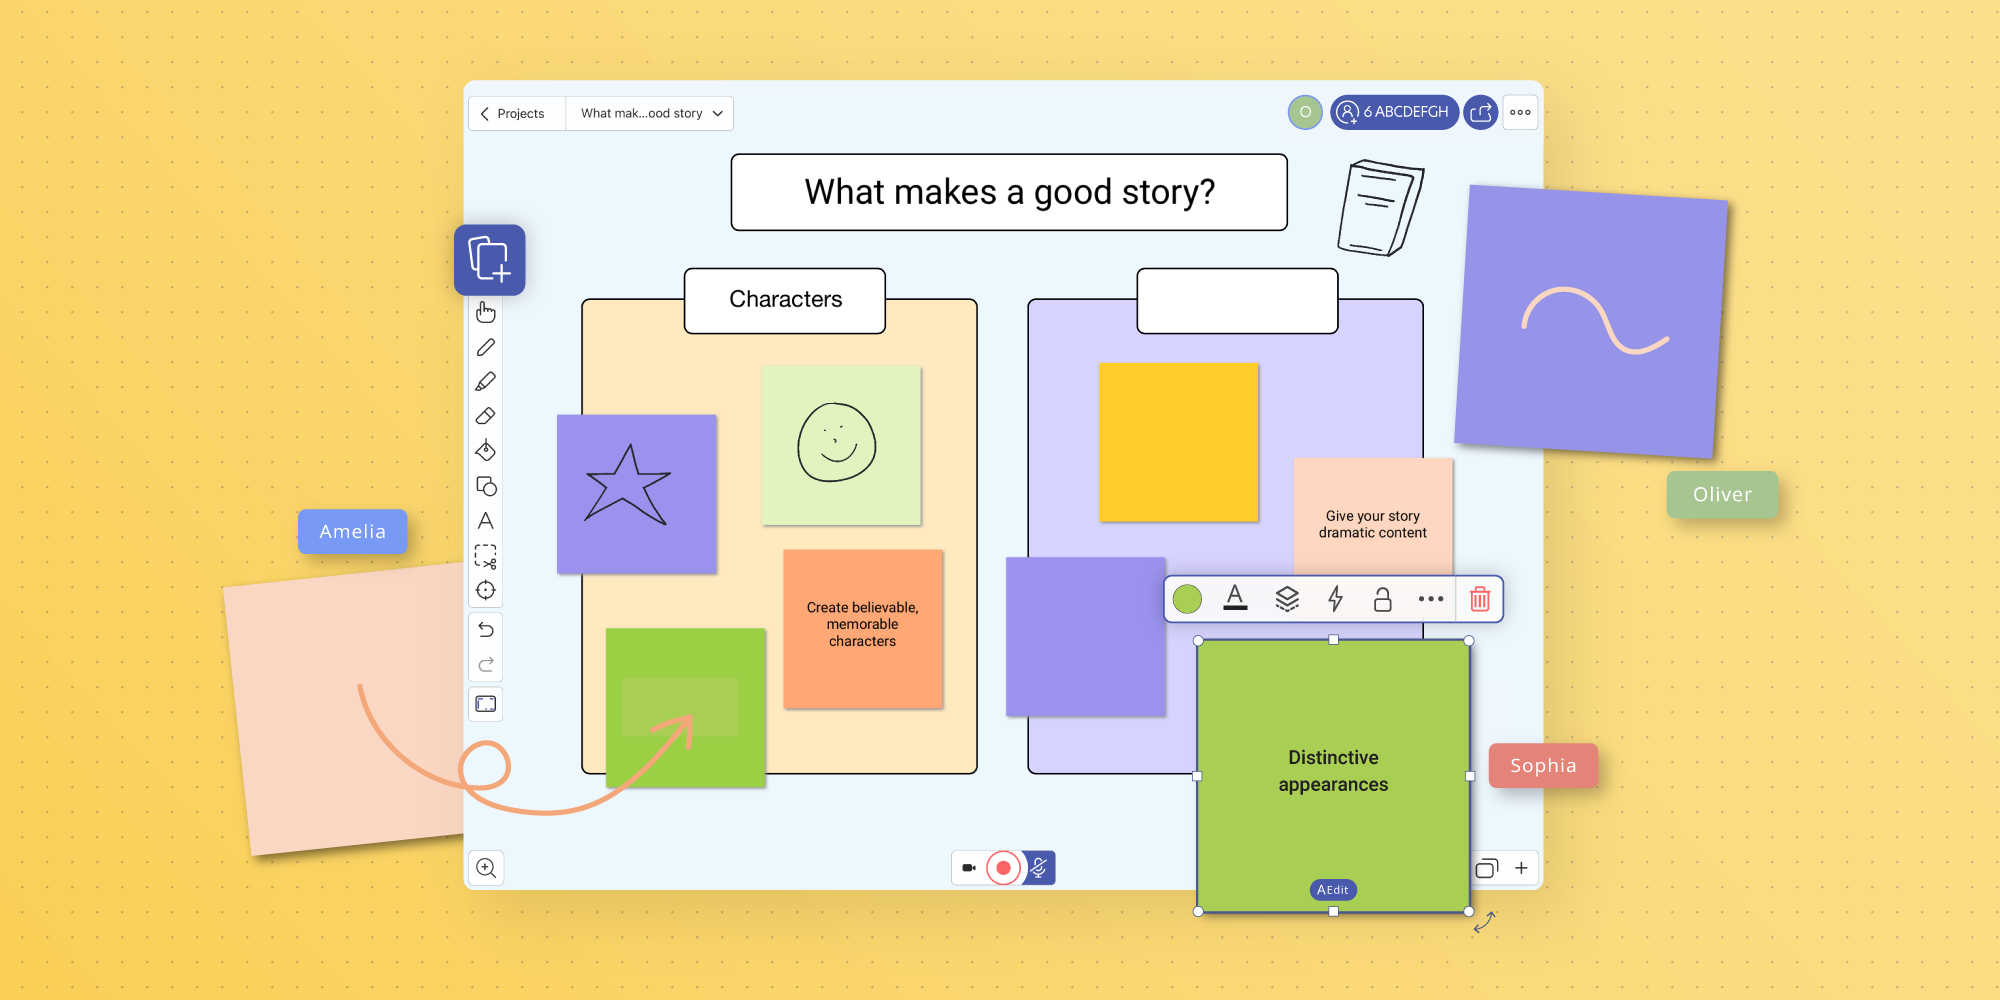
It works by the participants organizing their brainstorming findings (usually on sticky notes or a digitalized equivalent) into groups. They then give a name to the different categories. For example, a group of students may brainstorm the topic “What makes a good story?”. They may come up with varied points and could then group these into categories like “Characters”, “Plot”, and “Writing style”. From this view, they can then understand the themes they’ve identified through brainstorming and specific callouts.
Affinity diagrams are also known as the KJ Technique, named after its creator, Jiro Kawakita. With the KJ Method, it’s crucial to vote for the most important groups and rank them accordingly. This can be used when a group agrees on an idea that they want to focus on or consider the most important. However, it will not always have its place in education. For example, suppose students are using affinity diagrams as a way of visualizing their knowledge of a subject rather than suggestions for things they want to change. In that case, it’s not appropriate to rank the groups. If ranking isn’t needed, you may want to consider affinity diagrams complete after the grouping process.
How to create affinity diagrams
A good affinity diagram is only as good as the brainstorm that led to it, so making an affinity map will always start with a brainstorm.
1. Group people together
The best brainstorming groups will be formed of people who can bring unique perspectives. If everyone thinks differently, there will be more unique ideas.
2. Pick a facilitator
While brainstorming should be collaborative, one person needs to oversee the session. The facilitator is responsible for communicating the brainstorm’s aim and implementing the best method to get the strongest results from the participants.
3. Brainstorm collectively or individually?
You can facilitate a brainstorming session in different ways.
If a group is comfortable with each other, one person could be the designated writer and invite the group to say their ideas out loud.
However, if a group has quieter personalities, you may want to try other methods. An alternative way to host brainstorming is to instruct everyone to write their ideas independently within a set timeframe. This can help the group identify patterns of thinking (i.e. common ideas that everyone has) and allow the quietest participants to contribute to the brainstorming.
4. Collate all the ideas
The facilitator should gather all the ideas at the end of the session, whether the participants wrote them down or each made separate notes.
This should be as visual as possible, whether using physical sticky notes or a virtual equivalent on a digital whiteboard.
5. Discuss the ideas
Once everyone has contributed their ideas, it’s time for the group to discuss their findings and their thought processes.
It’s important to establish a safe space so that everyone feels comfortable sharing their reasonings. It’s ok to add additional ideas that arise from talking collectively but the main aim here is to identify common themes.
6. Group the ideas together
Here is where the process of affinity mapping begins.
The brainstormers should group their ideas based on themes. At this stage, you shouldn’t think of naming the categories. Instead, the participants should group sticky notes based on the items that make sense together.
7. Name the groups
Once thematically similar ideas have been grouped, it’s time to assign names to each group. Think about what it is that makes these different from others, and what the points raised have in common.
8. Vote for the group you want to focus on
Depending on the objectives for creating an affinity diagram, you may want to consider the task completed after naming the groups. However, if you want to follow the KJ Technique, you must collectively vote for the group you want to focus on.
Suppose you want to rank categories from most to least important. In that case, everyone must assign a number to each category, and the facilitator can calculate an average. Alternatively, if you only want to find a ‘winner’, all brainstormers can vote for one category. Participants can vote by raising their hands or submitting anonymous paper votes.
9. Rank the items in the most important category
To drill down even further, you can continue the voting process to look at the most important elements of the top category. Before doing this, the group should talk through each point and group together any that overlap.
Once the group has done this, the facilitator can conclude the session by setting the next steps for using the findings.
How to make an affinity diagram online
Affinity mapping tools have evolved the process of brainstorming and creating affinity charts. It’s now possible to make a digital affinity map. No physical sticky notes are needed.
How to use Explain Everything software to make an affinity diagram
With Explain Everything’s digital whiteboard, you can digitize the affinity mapping process. You can use its online Sticky Notes as an affinity diagram tool.
To use Explain Everything’s Sticky Notes:
- Create your free Explain Everything account.
- Open a new whiteboard project.
- Start with a blank canvas.
- Select Add Media from the toolbar.
- From the menu, click on the Sticky Note option which will bring up the note in the middle of the canvas.
- Customize the Sticky Note however you want, including changing color, the size, adding text, and editing the font.
- Keep adding Sticky Notes each time you have a new idea.
- Move the Sticky Notes with the Hand Tool to group them.
Students can collaborate on the canvas by using Explain Everything on a device that is being shared to a panel, like a Promethean interactive display. With vellum touch technology that recognizes pens and fingers, up to twenty people can write on a Promethean ActivPanel 9 at any one time. This enables a group to conduct their brainstorms and subsequent affinity mapping directly onto Explain Everything software.
Teachers can use an online whiteboard to facilitate brainstorming in the classroom. They can act as facilitators and record all their students’ ideas using Explain Everything Sticky Notes.
How to adapt affinity mapping for education settings
Affinity diagrams are regularly used in corporate settings but are underused within education. By introducing affinity mapping into the classroom, brainstorming sessions can become more valuable and help educators and their students identify focus areas.
There are several ways affinity mapping can be used in education, including:
Generating creative ideas
For classes like English and art, a teacher may want their class to work together to come up with ideas. Perhaps the class will be creating works based on a certain topic or prompt.
A teacher could host a brainstorming session or facilitate several smaller group sessions exploring the topic. For example, groups of pupils could write down everything they think of within the theme “Nature”. The groups could then use affinity mapping to organize the different areas of the topic they can explore. They can also then vote on a focus area.
Suggesting areas of improvement
One way of empowering students is to ask them for feedback on their lessons.
Affinity diagrams allow students to brainstorm a variety of ideas and then present their thoughts back in a structured way, making it easier for teachers to understand feedback and adapt lessons accordingly.
This can be a good way for teachers to gain insight into how their class learns best.
For helping students start group projects
Kicking off a group project with a brainstorming session can help students get off to a good start, with everyone feeling welcome to share ideas.
The structured nature of an affinity diagram means the group can work together to see everyone’s thoughts and then collectively decide the direction they’d like to take.
As a revision tool
While not the original intended use of affinity diagrams, the format has found its place as a revision method.
To use affinity diagrams in this way, students should brain dump everything they know about a topic onto sticky notes (physical or virtual). The students can then organize the notes in whatever way they think works best, and then name the groups. This activity can help students to better understand how different facts connect. It also gives a visual reference that some pupils may find helps them to memorize the content.
If this is carried out in the classroom, a teacher can encourage students to share what they have learned with the rest of the class. Talking through their thoughts can help students remember the information better. If pupils work on an Explain Everything digital whiteboard, their teacher can save the students’ progress so that they can revisit this as part of their revision. Far easier than taking photos of scribbled-on sticky notes.
Get started with affinity diagrams using Explain Everything
Explain Everything’s free online whiteboard software can help you digitize your affinity mapping process and empower your students to embrace structured brainstorming.
To get started, sign up for your free Explain Everything account today. Looking for more? Upgrade to Explain Everything Advanced – offering excellent value for unlimited projects and the latest features.
Recommended articles:
- Interactive Teaching Activities to Maintain Student Engagement
- 6 benefits of Interactive Whiteboard in the Classroom
- Student engagement strategies in the classroom

