Use Explainer Videos in the Classroom. Remote Teaching with a Digital Whiteboard

Table of Contents
Video has been very popular in recent years, and not only in marketing, advertising and business. It has also become increasingly helpful in the classroom. There are millions of tutorials on Youtube and other platforms, that’s why it hasn’t been easier to adopt and learn new things.
Due to the pandemic currently raging across the globe, many teachers who weren’t familiar with online teaching and technology had to jump a few chapters ahead all at once in order to deal with the new challenges facing them. Let’s explore the power of videos and recordings in education and online schools. Are you ready?
Explainer videos and the possibilities they offer in education and online schools
We are experiencing a major change in the field of communication. Educational literature and research have proven that students who incorporate technology that they are familiar with into the learning process are more engaged in it. Such a flipped classroom focus on blended learning gives the teacher an opportunity to deal with different learning preferences during class time.
What are the benefits of videos?
- Students are more familiar with technology than most teachers, so take advantage of this fact to show them new opportunities for learning and growth.
- Explainer videos can be used and shared multiple times in mere moments.
- Interactive lessons attract students’ attention and help them memorize materials better.
- Explainer videos and lecture videos can be amazing tools for building relationships and providing personalized and more complex feedback.
- Recordings allow teachers and students to explain either instructions or assignments more clearly.
- Personalized videos enhance student comprehension and elicit discussion.
Ways of using explainer videos in the classroom
Whiteboard explainer videos: how to get started
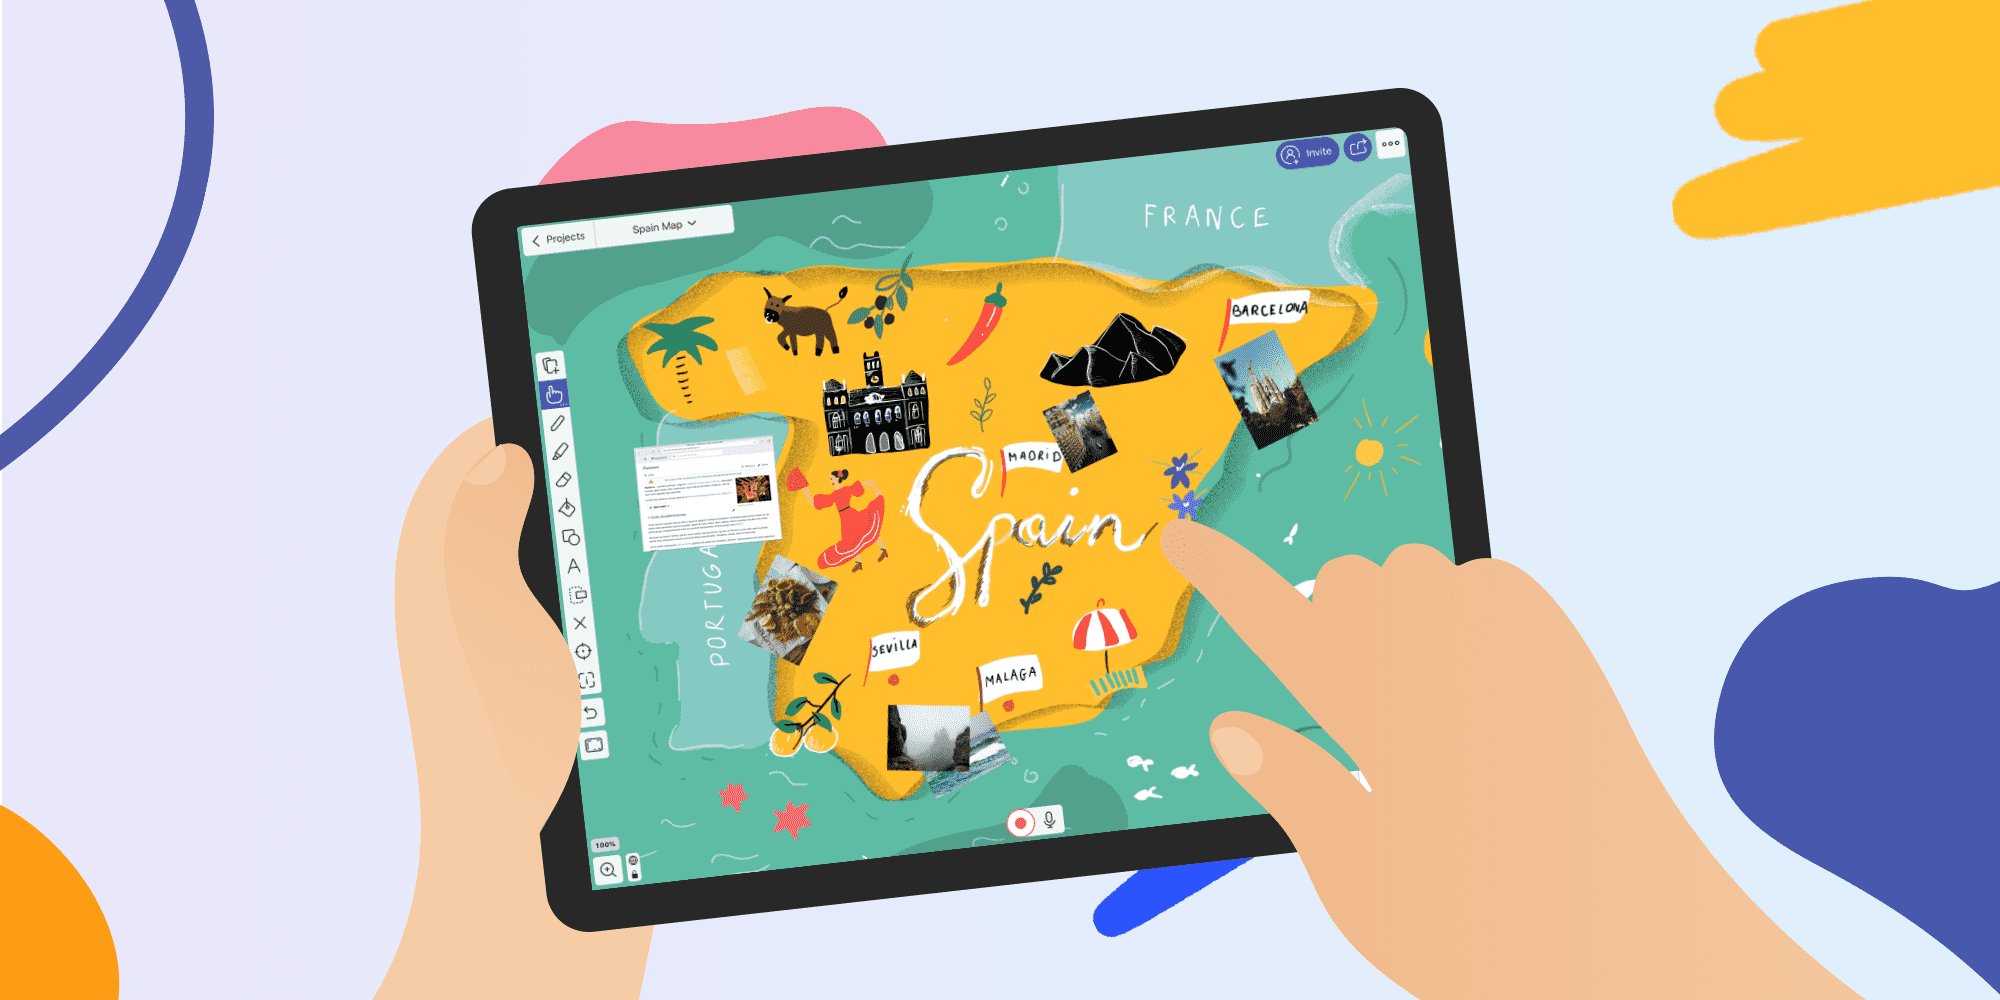
An explainer video is a short or long-form video used to explain a concept or concepts. In combination with a digital whiteboard, an explainer video can be an extraordinary tool for enhancing and diversifying learning styles. So without further ado, I’m now going to show you how to create your first explainer video using Explain Everything Whiteboard, step by step.
What type of media can you add to your video?
- Existing Images/Video
- A live web browser (yes, it may sound crazy, but it’s magic, plain and simple!)
- Equations, an especially useful option for math teachers and professors.
- Audio
- Other files, i.e. PDFs or slides
- Clipart
- Royalty-free images from Unsplash

Get Explain Everything. You can use it in your browser or download the app for your mobile device from Google Play or Apple App Store.
Introduction to recording
⭐️ Keep in mind that recording explainer videos using frontal cameras works only on mobile devices (iOS, Android) as well as on local projects. If you use the Explain Everything Web app, you can easily add existing Video directly from your device.
- Open a new project to get started.
- Add the materials that you want to present. Basically, you can upload almost any kind of media that will support your process.
- Add media > Video. Use two fingers to resize the video window that appears on the whiteboard. This is an amazing example of how you can stay almost face-to-face with your students by showing yourself just as you would during normal brick and mortar classes.
- Once you can see yourself and you’ve already added all the materials that you want to use, let’s go to the next step and record the entire explanation process. We highly recommend you use headphones with a microphone, to record a better quality of audio.
- Press record, and then just start talking and explaining your topic. Move the objects around, make notes in real time, annotate and feel free to create any kind of magic you want.
Ready to export your video?
If you have finished your project, it’s time to share it with the world. There are a couple of ways to export your video, let’s focus on the easiest one!
- Select the “Share” icon.
- Then, Select Create Web Video link from the menu. This allows you to share your project as a video or a slideshow.
- Wait a second until the link is generated. Copy the link and press done to make it live. Voila!
Upload videos using your favourite platforms (available for mobile devices).
- Easily export your project using the sharing button > Export > Video.
- Download the video directly to your device (iPad, Chroomebook, or Android tablet) or simply use third party applications such as Youtube, Dropbox, GDrive, OneDrive and many more!
- Copy the link to your video and share it with the world.
LMS (Learning Management System) integration with Explain Everything
LMS integration makes it supremely easy for you to use any projects and videos stored in Explain Everything Drive, anytime and anywhere. Every teacher has their own workflow, and that’s why we’ve put a lot of thought and effort into making the whole process easy to use and deploy.
Learn how to:
- Insert a project to a Learning Management System
- Integrate Explain Everything in Clever
- Integrate Explain Everything with Schoology LMS
- Share a project to Google Classroom
- Send and Receive Explain Everything Schoolwork Activities in Handouts
Extra features for a more productive workflow
- Laser pointer – use it to point out specific content on your whiteboard.
- Presenter mode (easier interface). If you want to hide most of the available features, just use presenter mode to make the interface simpler.
- Zoom and Pan, to move around the canvas or zoom in and out on it.
- Toolbar alignment (left, right). The Explain Everything interface is tailored to your needs, so choose what’s most comfortable for you. Simply go to Settings (three dots) > Toolbar alignment. Available on mobile devices.

Videos can be a powerful learning experience for students. Record a clip and use it to develop your students’ speaking, listening or vocabulary skills. Your videos don’t have to be perfectly crafted, the most important thing is to have a clear vision of what you want to convey using the digital whiteboard. So, are you ready to introduce some teaching changes?
Learn how to record explainer videos and share them anytime. Sign up for the free training!

