Be more present for students when teaching online

“If you’re asked to teach online, we encourage you to find ways to be present for your students. Your presence is all that many of them have ever needed, and this does not change if you are teaching from your living room or local library. “
— Reshan Richards
Technology enables online teaching, but it also limits how interactions with your students are possible. If you think about all of the different ways you can communicate when in the classroom, technology is yet but an imperfect and limited substitute for a real lesson.

There are ways, however, to go beyond the limitations of remote communication and make the most of the bandwidth between you and your students. All you need to use is a powerful whiteboard!
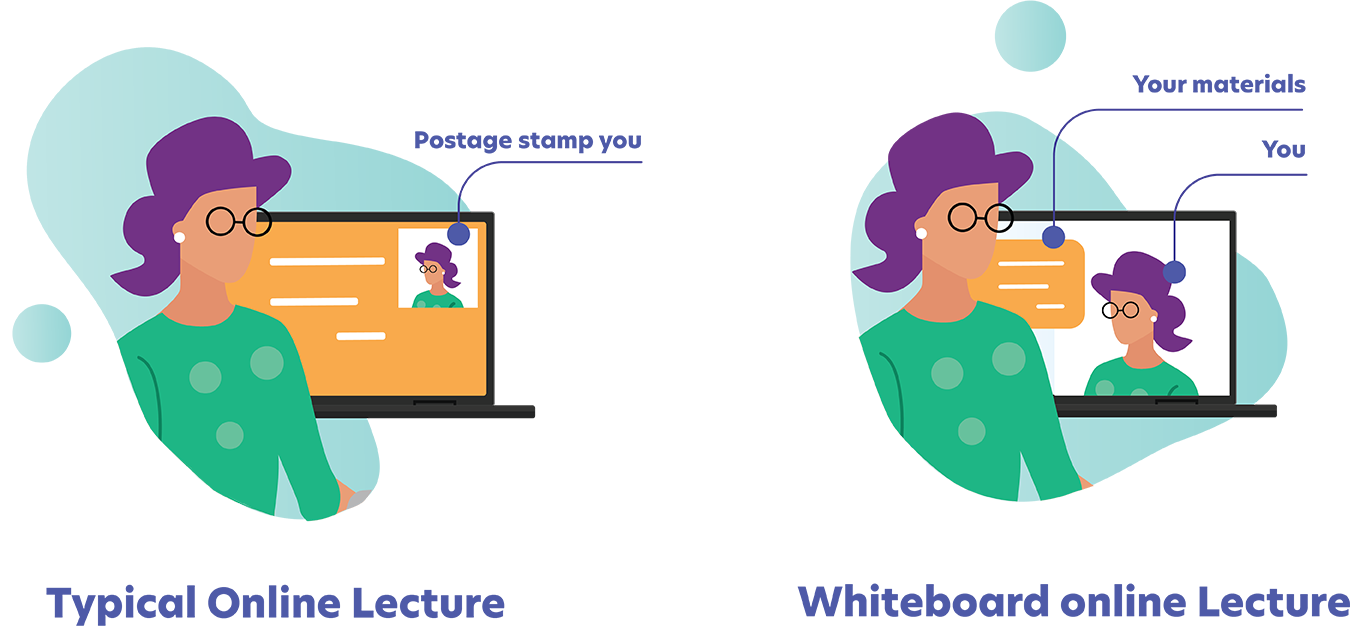
Be the content — don’t let slides steal your spotlight
Let’s be honest: using the standard ‘thumbnail size’ depiction of you to convey emotions and facial expression is like exhibiting a painting on a postage stamp. To be more present for your students, set a live video of yourself as a background to your materials. This way, presenting or writing on a whiteboard will be able to much more closely resemble the experience students had with you in a classroom setting.
To pull off this neat little trick, you need to use Explain Everything Whiteboard on an iOS, Chromebook or Android tablet.
Here are the steps you need to take to make that happen:
Step 1: Prepare your lesson or lecture materials and add them to your whiteboard.
Avoid slides altogether, if possible. Chop your materials up into pieces that you can use independently and keep in a clipboard for easy access. Instead of a presentation, use one, single slide — an infinite canvas you can traverse with the Zoom tool whenever you need.
Step 2: Add a new video object (that is, your front-facing camera).
The camera will provide a live feed of you to the canvas so you don’t have to use any other form of video transmission from the conferencing solution you use. With your viewport on the canvas, you control the position and size of your depiction — you can move your frame around or scale it with the Hand tool.
Step 3: Send your frame to the back or (better yet) — set it as a background.
To fix your viewport, use Inspector and set your camera as a background object. This way, you’ll be able to present your materials facing the other call participants, just like you would in the classroom. Zooming or scaling will only on materials for even more controlled effect.

