4 ways to make your explainer videos more effective
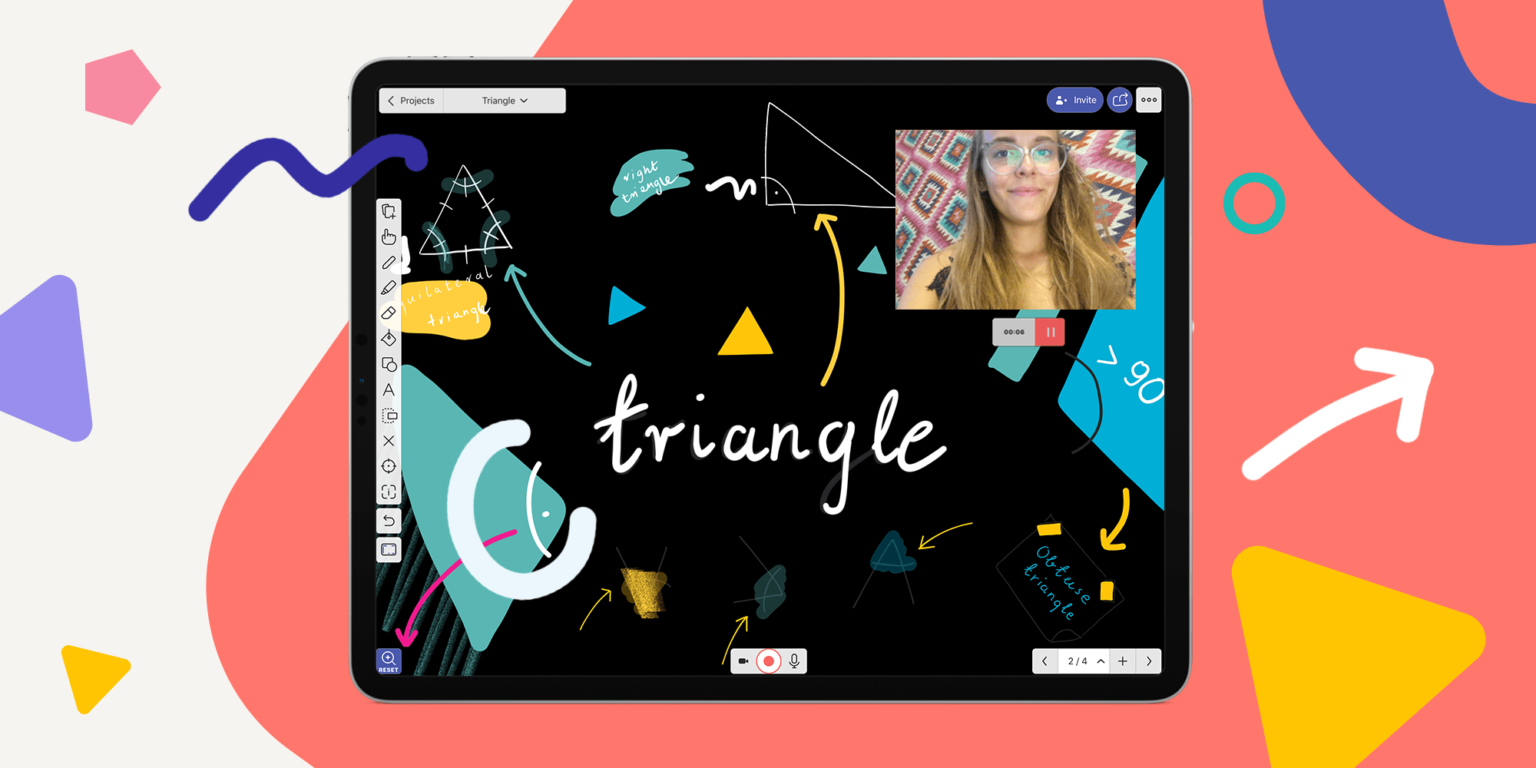
Table of Contents
In the upcoming school year, a large portion of materials will be provided remotely in the form of instructional videos. Good thing you can use Explain Everything’s recordable whiteboard for the job!
In this article, we’ll show you four practical ways to use Explain Everything app to create memorable experiences that effectively foster learning at the same time. Learn the techniques of using a whiteboard and see the scientific evidence for why they work as well as they do.
1. Draw as you go!
Research says that when you illustrate a topic while talking about it, it will be much more impactful than talking over a ready-made illustration.
“People learn better from a video lecture when the onscreen instructor draws graphics on a board while lecturing rather than referring to already drawn graphics” – Five ways to increase the effectiveness of instructional video by Richard E. Mayer, Logan Fiorella and Andrew Stull.
When making an explainer video, you can create this effect easily. You don’t necessarily have to draw and talk at the same time – you can first record the drawing and then add your voice explanations as well as annotate or draw and move any object around.
Steps to follow:
- Press Record. Make sure that the microphone is turned off while doing this as you’re going to be adding your voice later.
- Draw something! Take as many attempts you need!
- Rewind your video and make sure it’s in Mix mode.
- Now, you can start Recording again.
- Add your voice over – talk about the topic that you have just illustrated.
- You can now rewind and check your video.
Take a look at the result:
2. Gaze guidance (iOS, Android and Chromebook, not available when collaborating)
People learn better when the instructor shifts their gaze between the audience and the board while lecturing. The act of looking at the audience has social impact, while focusing on the board is intended to suggest that the learner should look at the materials, too. Here’s how you can implement gaze-guidance with Explain Everything (for iOS, Android and Chromebook users):
In this video, we used a video object that was captured in the front camera feed when recording. Shifting focus from the materials to the camera makes students feel that the instructor is working with them as their partner. This can even motivate them to try harder to absorb the material!
Steps to follow (iOS and Android or Chromebook devices):
- Prior to recording, use Add Media -> Add new video.
- Position your live video object where you need it on the screen.
- While recording, your feed will be captured.
- If you’d like to do a second take, just rewind, delete the video object and repeat the steps!
Find out more: Be more present for your students.
No mobile app? No problem!
Don’t worry if you don’t find the “Add New Video” option on you Explain Everything online whiteboard. You can add a couple of pictures instead and create a simple gif on your recording.

Steps to follow for Web version users:
- Prior to recording, use Insert New -> Picture.
- Position your picture object where you need it.
- Record the whiteboard and pause it after a while.
- Insert new picture again, take a shot and cover the last one with it.
- Start recording again and repeat actions from steps 3 and 4.
This is how you do that:
Stay tuned! We will soon publish a whole article dedicated to web Explainers where we’ll cover all tips and practical instructions for creating best whiteboard videos.
3. Engage students with activity as they watch
If you went to all the hard work to provide students with an explainer video, why not ask them to add their notes or even create a video response to it? Scientific evidence shows that students engaged in the process of imitation retain more and perform better later! Explain Everything makes it incredibly easy to put the concept of ‘learning by enacting’ into practice.
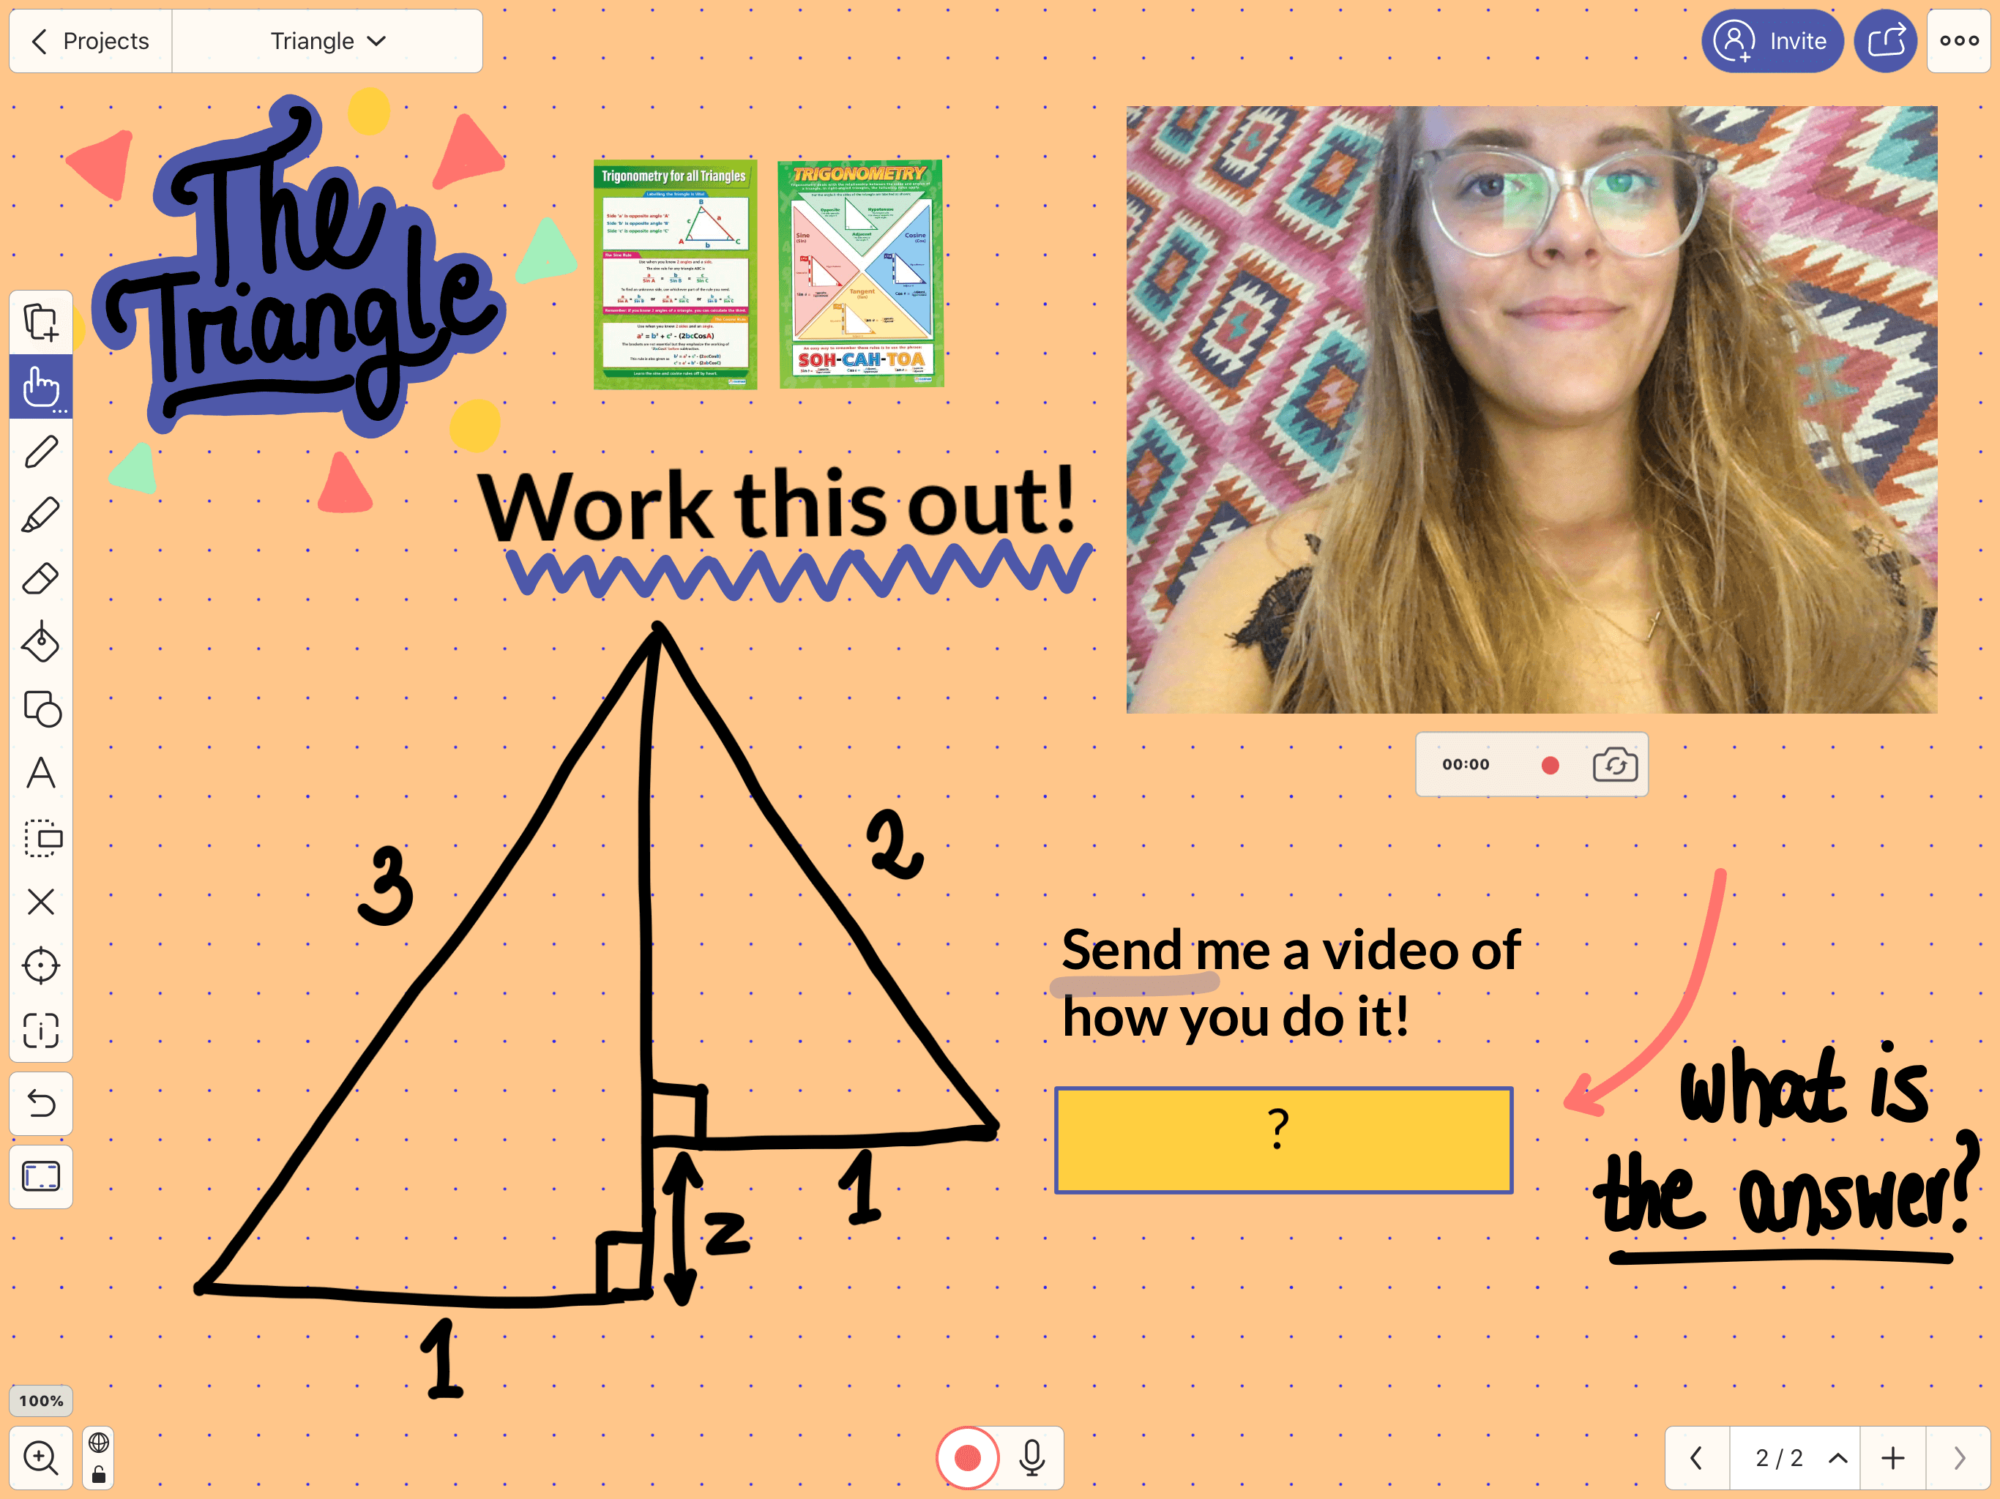
Steps to follow:
- Design your exercise in Explain Everything.
- If your students use Explain Everything, why not ask them to respond with a video to your video!
- Have them share clips with a Web Video Link.
- Collect students’ links/codes and review their efforts.
4. Make your narration come together with visuals
People learn better from a narrated video when words are supplemented with printed text, especially when their second language is used or the vocabulary used is new or challenging. Nothing makes creating videos like this easier than Explain Everything!
Steps to follow:
- Record your video before adding the captions.
- Rewind to the exact place where you need to add text.
- Add a text object and position it on the screen where you would like it to appear. No need to record again — the new object will remain in its position throughout the recording.
- Scroll to the place where the text should disappear and delete it.
This way, you can easily add captions and subtitles where you need them.
Want to know more? Check out the other articles on our blog:
- Use Explainer Videos in the Classroom. Remote Teaching with a Digital Whiteboard
- Why no Stealth Mode? Camera and Zoom changes
- Be more present for students when teaching online
And make sure to join our next webinar dedicated to Explainer Videos!
Text: Bartosz Gonczarek
Videos: Angelique Toque
Graphics: Sonia Równicka
🔥 Upcoming Webinar: Learn the Basics of Whiteboard VideosSign up for the webinar

