Visualize, Connect, Doodle, Repeat: Sketchnoting with Students Using Explain Everything
 | We’re thrilled to present a guest blog post written by Carrie Baughcum, a special education teacher and blogger. Read about her first hand experience introducing sketchnoting into her classroom. |
|---|
Learning to sketchnote (visual note taking) in the classroom has been a journey for me and my students this year. Our journey began at the beginning of this school year. We started sketchnoting in Reading first. While my students read passages from the text we would pause after a paragraph and I would ask my students to share what movie was playing in their head and what picture their imagination was making. This taught them to synthesize information while making choices about what information is important and learning to see the invisible. With the image formed in our imaginations, I drew the image that I imagined on the board and my students drew my icon or their own icon/image on a post-it note and placed next to the paragraph in the text. After lots and lots of practice and the certainty that my students had developed basic visualization skills they were ready to advance into multiple idea/image notetaking also called sketchnoting.
I started with a structured approach. On butcher block paper I pre-labeled areas with specific information. This would model and teach them how to group and organize like information (skills some learners might do naturally). Side by side with my students, I modelled sketchnoting for them. We listened or read about a new topic, I synthesized the information, thought outloud, we discussed what was important, talked about paraphrasing information, noted the important information, and then worked together to pair our ideas and information with images.
A variety of topics and subjects with modeling and paired sketchnoting later, my students were ready to try sketchnoting on their own. With butcher paper, a pencil, and labels to add to their own sketchnote (pre-made labels would help pre-organize the sketchnote and help them organize and categorize information more independently) my students began sketchnoting on their own. They would listen to or read about a new topic, comprehend the information, think about what was important, write important information/facts, and then pair ideas/information with images and finally add color and connectors.

After a lot of hard work, my sketchnoters were ready to take their skills to the next level. My students were ready to be introduced to a new medium of sketchnoting and ready to build their pool of visual notetaking tools with digital sketchnoting.
Ready to dive in, I now needed to find just the right tool if this was going to be successful. I decided on Explain Everything (Interactive Whiteboard) for several reasons:
- Easy to use
- Affordable
- Provides built in organizational tools
- Can handle multiple pieces of information combined with multiple doodles
- Makes visual note taking and doodling easy and fun
- Has the potential to allow us to eventually add the final piece in multi-media options
- Allows us to eventually share with others
- Has accessibility tools to support spelling and writing fluency weaknesses (iPad 3+)
- Will encourage creativity and keep up with student skill growth
- Has collaborative option (allowing student to student collaboration or teacher to student collaboration/support),which is a bonus for our class.
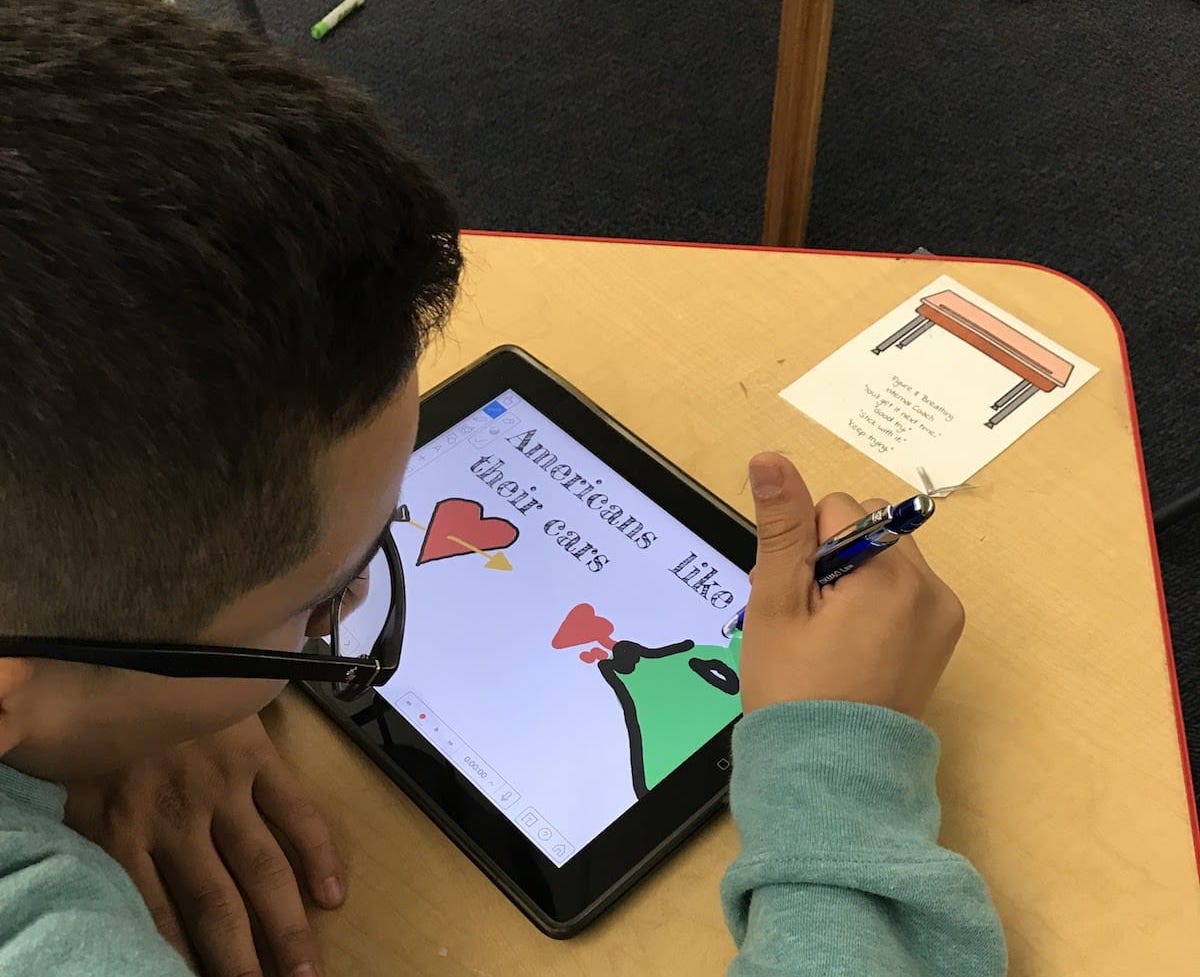
We started by taking time to learn and explore all of the different tools Explain Everything offers and the potential of each tool. With a basic understanding of the each tool’s capabilities I gave my students sometime to break in the app and practice doodling, writing, and typing in Explain Everything. Next we talked about how Sketchnoting was going to look on the iPad. “How can we possibly fit an entire sketchnote on one little screen?” a student asked. So we talked about and tried out the different ways students thought we could sketchnote using Explain Everything.

First, we tried the “putting everything on one screen” idea. Even with the free arrange and group option, having everything on only one slide while trying to capture new information was too complicated and visually overwhelming. Then we tried putting notes wherever we felt like it. Sometimes information and images were put on a single screen with overflow on new slides and some slides had just text while others had text and images combined. This left our information unorganized and what I like to call a “hot mess”. Then we came up with the “one idea per slide” idea. When we heard/read a fact or idea we wanted to capture we would write it on a slide. Next idea/fact, new slide. When all the important facts/ideas were captured students then used the group option and free arrange to arrange all the slides together on one slide at the end.
This final idea really worked for us and stuck with us. Suddenly the complexity of it all became simple and the idea of sketchnoting on the iPad was an empowering and fun experience. This sketchnoting method has not only become an amazing tool for me and my students, it has also become the preferred method for many of them.

