Split Your Timeline to Edit Your Audio
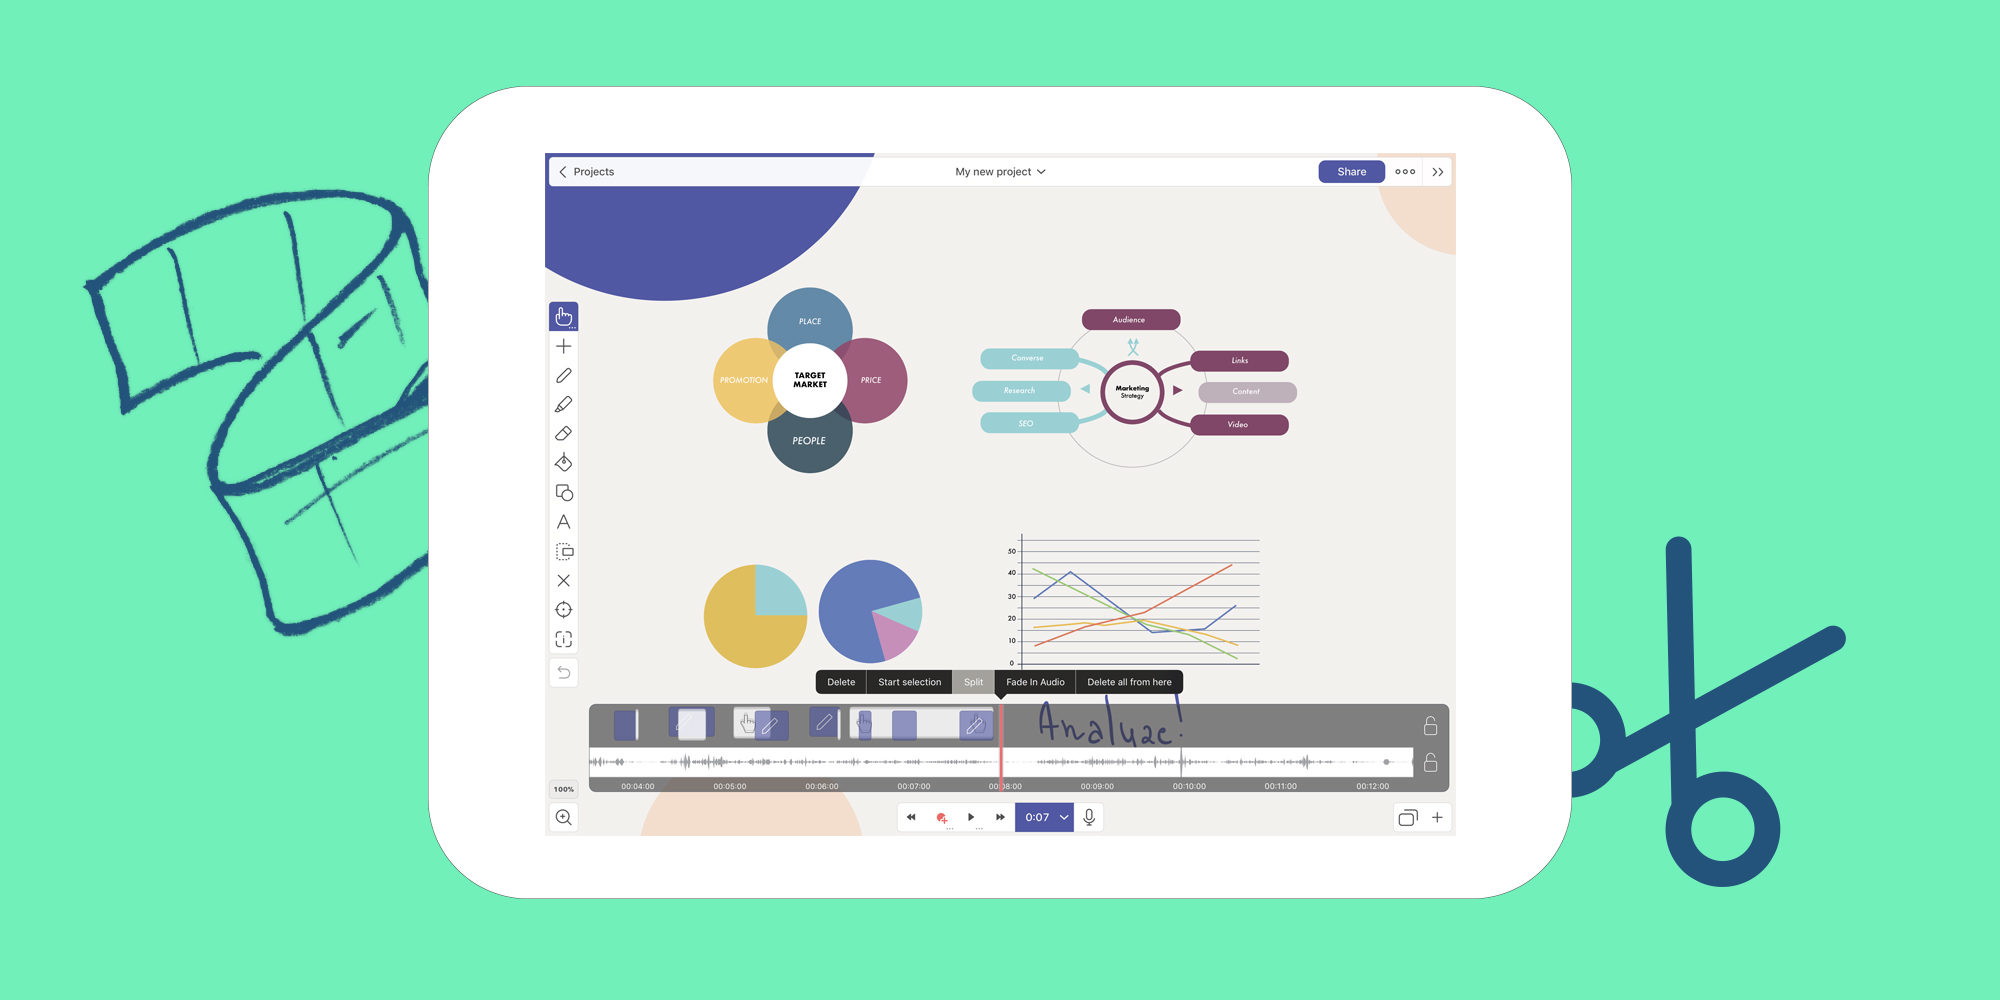
Sometimes you nail it and sometimes you don’t. For the times that you don’t, Explain Everything has a feature that makes it simple to delete a piece of your audio and try again! The Timeline offers many ways to edit and adjust your recordings, but today we’re only looking at how to split and delete a piece of audio!
This week’s Tuesday Tip will explore splitting and deleting a portion of audio from your timeline.
What you’ll need
- An Explain Everything project with recorded audio
Step 1
After making a fresh recording or opening a project that contains a recording, tap the time next to the record button to open the Timeline.
Step 2
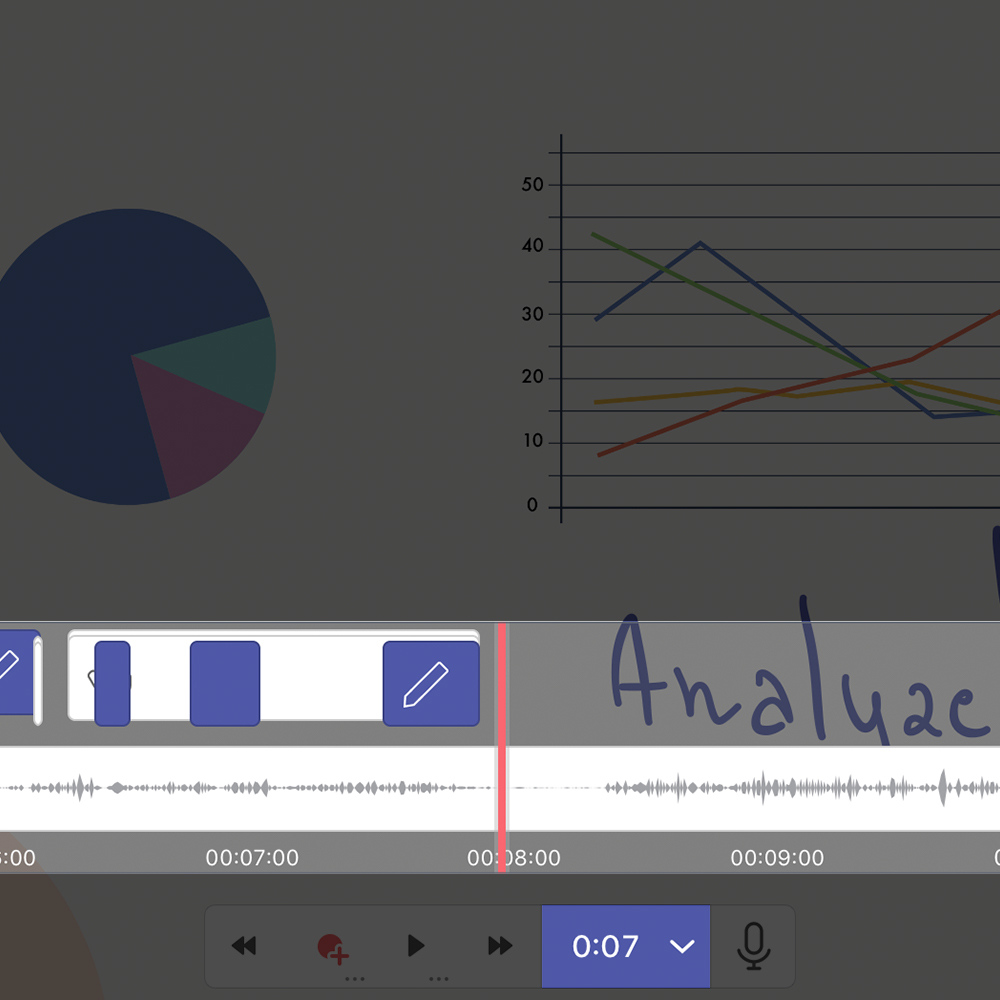
With the Timeline open, scroll the playhead to where you would like split your audio. Touch and hold on the Timeline and then tap Split.

Pro Tip
- Want to just remove a section of audio? Split your timeline on both sides of the problem area, touch and hold on it, and tap Delete!
Step 3
Now that your Timeline’s audio is split, touch and hold on the split portion and tap Delete.

Splitting audio on your Timeline and deleting it is a simple way to fix recording mistakes or unwanted sounds! Start splitting and present audio perfection!
Happy Explaining!
Do you use Explain Everything in an interesting way or would like to see something explored in depth? Contact us at connect@staging.explaineverything.com with your suggestions!

