Polished Videos Are One Step Away with the New Timeline
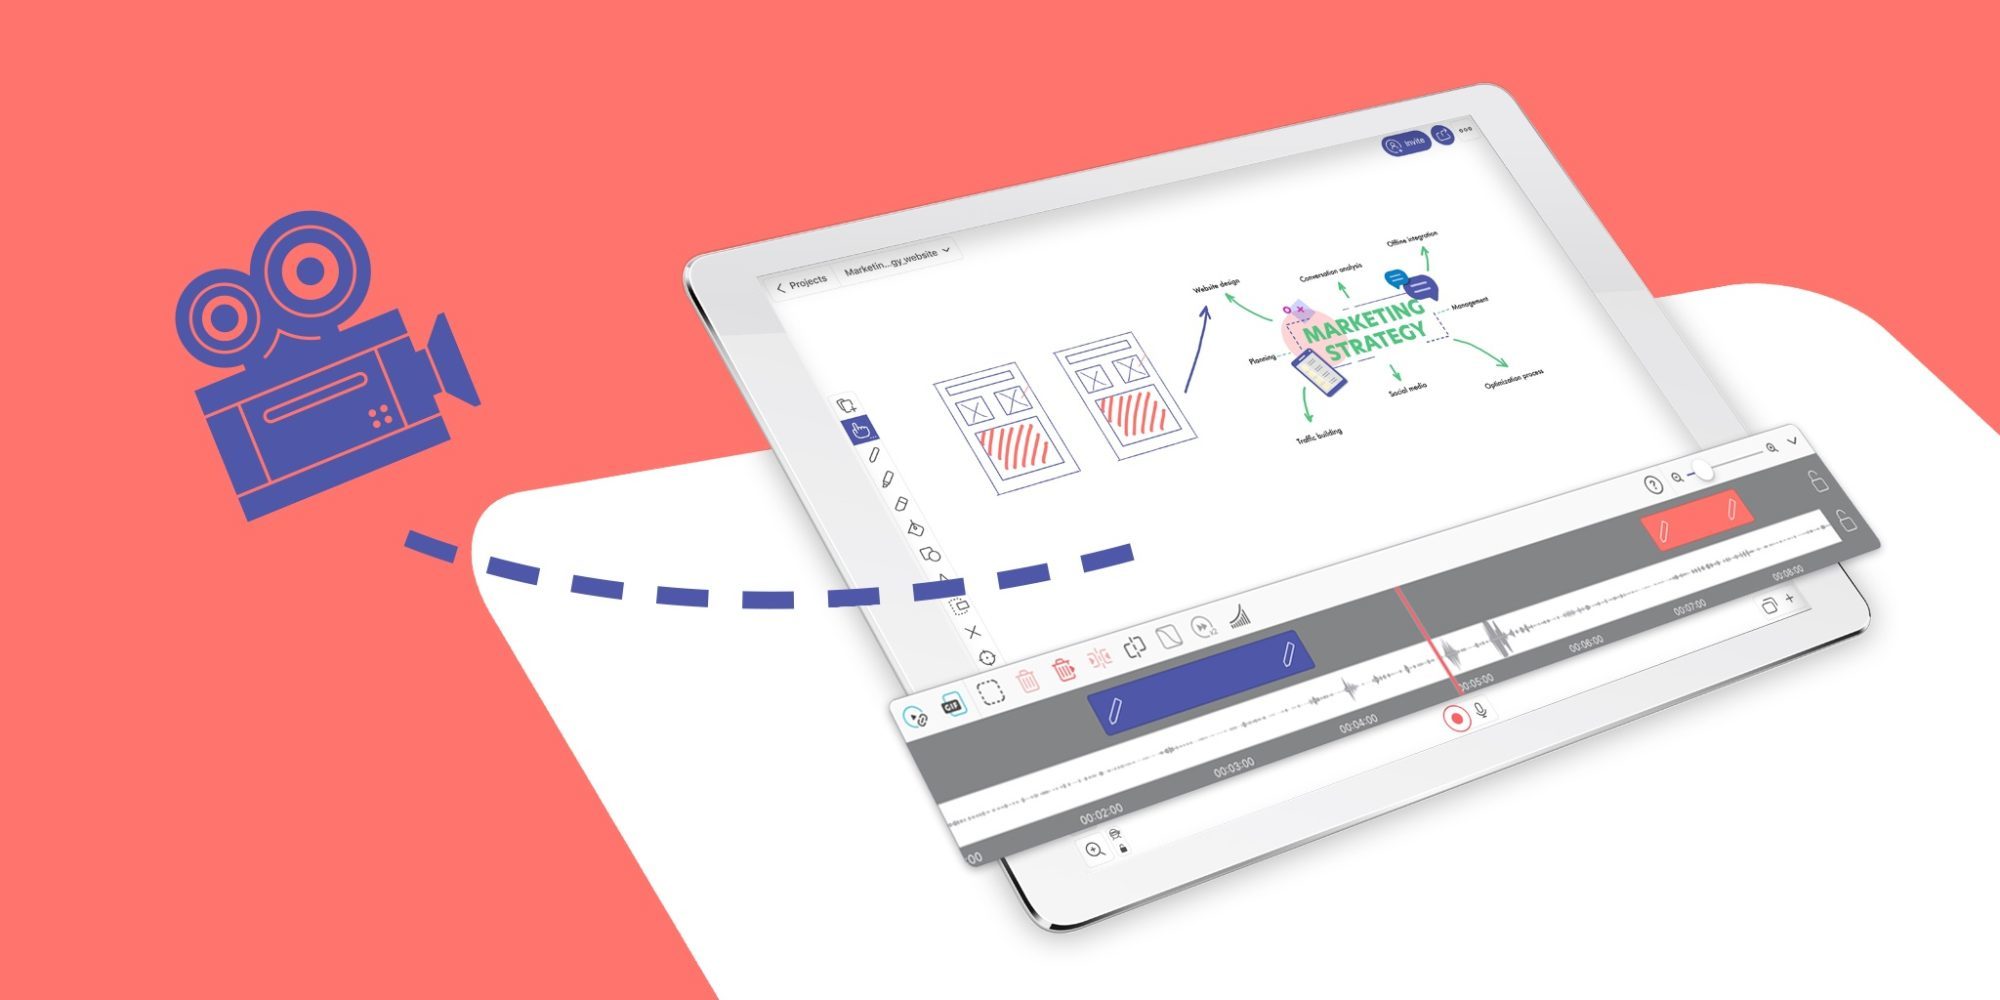
Table of Contents
Watching a well-edited explainer video, animation, or video essay is a pleasure in itself. Especially now, with bajillions of them on YouTube or Vimeo, you can really appreciate the editors and animators craft of conveying ideas skillfully (and often find yourself binging their videos).
Creating them comes at a cost though. Tony Zhou, creator of Every Frame a Painting – a YouTube channel with essays about movie making, said that it took him “(…) about 8 hours of editing for every 1 minute of video essay”.
Such a time sink wouldn’t quite fit with the immediacy and flexibility that Explain Everything provides. So, we sprinkled just enough editing magic onto the Timeline to let you polish your recordings but in a quick and simple manner.
Now, Explain Everything features all of the video editing tools directly on the Timeline for quick, immediate edits and more advanced projects and animations. Here are a few simple ways you can refine your recordings.
Trim the irrelevant parts
To make your recording play fluidly you might want to keep only the key information in it. To achieve that, you can select the unnecessary part of your recording, cut it out, and join the remaining parts together.
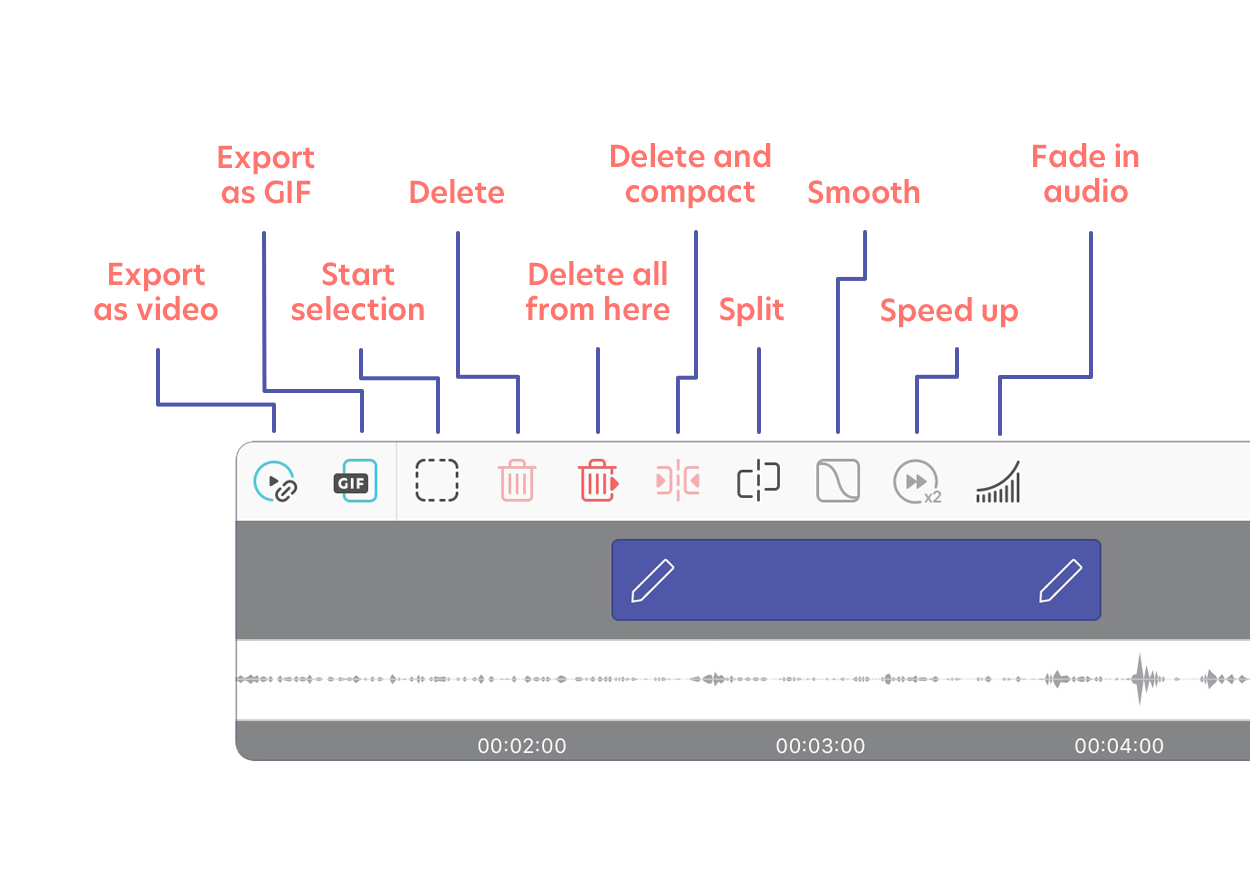
Start with the Timeline opened, drag it so the Playhead (the red line in the middle) is in a desired spot and select the Start selection button. Drag the Timeline again so the blue selection covers the part that you want to remove. Now simply select the Delete and compact button and it’s done. Do that couple more times and you have a chaffless video ready in a few moments.
NOTE: Please keep in mind that if you cut a part where you added something to the canvas it will no longer appear in the recording.
Share parts of your recording
What if the key information you want to share is just one particular moment? Let’s say, you had a 30 minute meeting but your team needs just the relevant action items from its ending. You can select just that part of the recording and share it. To do that, simply select a part of the Timeline you want to share with the Start selection option. Then, select the Create web video link button.
This way you’ll create a Web Video Link with just that important part. If you don’t need the sound or just want to share a short, looped animation you can also use the Export as GIF option.
Refine drawings and movement
That one particular arrow didn’t look as good as it was supposed to or maybe you moved something accidentally? There’s a solution to that as well. Scroll the Timeline to the particular moment you where you want to make changes. Find the clip that you don’t like. Select and hold it until it’s marked. Now select Delete to remove just that clip.
TIP: Use the Split option in situations when you need to divide a longer clip into parts.
Now, if you want to add something else there, scroll back, lock the voice track by selecting the Lock button on it (or toggle the Microphone), switch your recording mode to Mix, and hit Record. You’re now free to redo that part to your liking.
Wait, there’s more
With new video editing options you can also smooth out zooming and movements, fade in audio, speed up your recordings, and more. To learn about all the options check out Editing your recordings article on our Help Center.
New video editing options are available on the newest iOS and Web versions of Explain Everything. This feature will be fully rolling out to other platforms in the near future.
If you have any questions or concerns, please use the contact form or email us directly at support@explaineverything.com. We will gladly help you! And if you have Explain Everything downloaded already, please leave a review and a rating — it really helps us grow. Thank you!

