Delete and Compact Your Timeline
After spending time recording all of your actions, sometimes you realize not everything was on the money. Long blank sections, certain assets didn’t work quite the way you thought, or simply want to cut a part of your recording? Delete and Compacting the timeline makes this a cinch!
This week’s Tuesday Tip will explore using Delete and Compact to edit your timeline.
What you’ll need
- A few assets to insert (images, documents, anything your heart desires)
Step 1
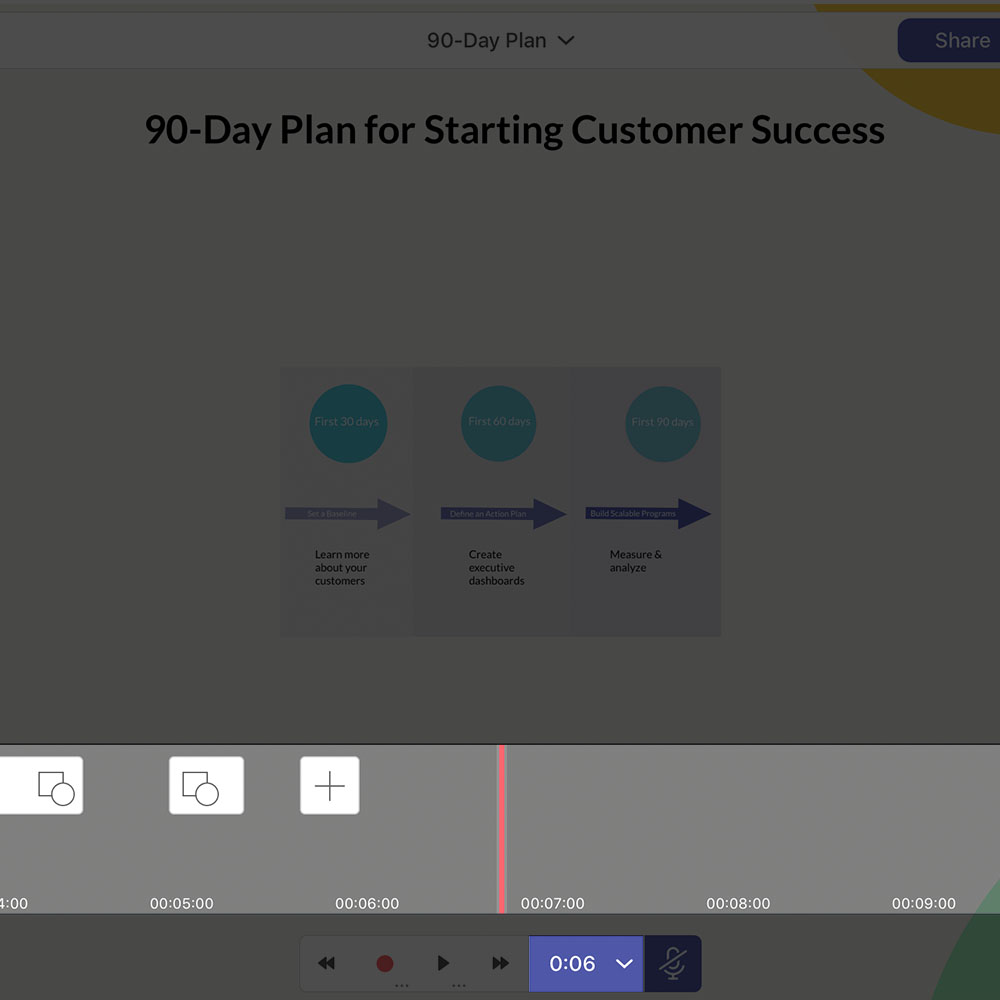
First things first, tap Record! Now that we’re recording, tap Insert and then insert three or four assets onto the canvas. They can be Clipart, Images from Web, documents – whatever you like! Tap the Hand tool and organize your assets around the canvas. Once your assets are organized tap Record again to stop recording. Next, tap the Timeline to open it and scroll back to areas where there is time recorded, but nothing happening.
Step 2
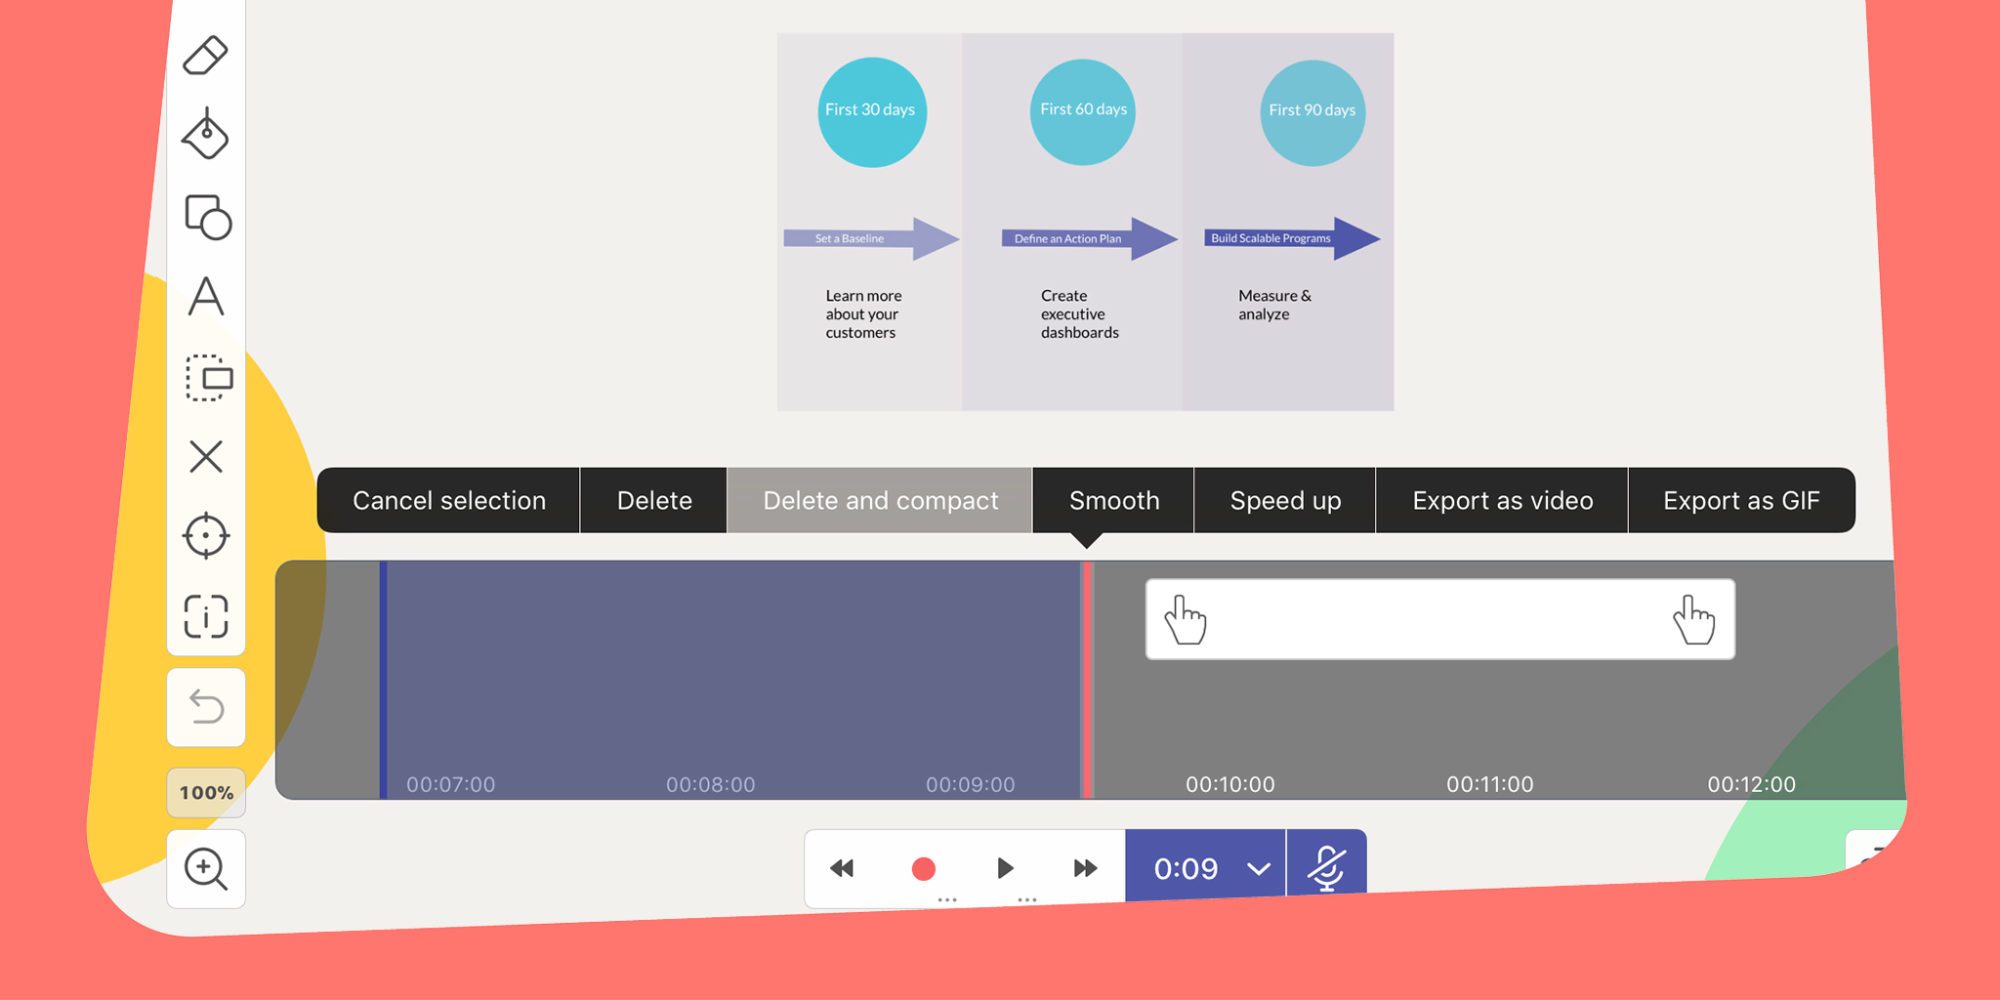
Touch and hold on the Timeline until the menu opens and then tap Start Selection. Drag the timeline until the entire blank section is highlighted and let go.

Step 3
Lastly, tap Delete and Compact to eliminate the section from your timeline. You can do this throughout your recording to get rid of your “dead zones”!

Pro Tip
- Have a recorded asset that just isn’t working out like you thought? Delete and compact the recorded section where it was inserted to remove it and the blank recorded space.
Deleting and compacting areas of your timeline eliminates “dead zones” and tightens up your presentations!
Happy Explaining!
Do you use Explain Everything in an interesting way or would like to see something explored in depth? Contact us at connect@staging.explaineverything.com with your suggestions!

