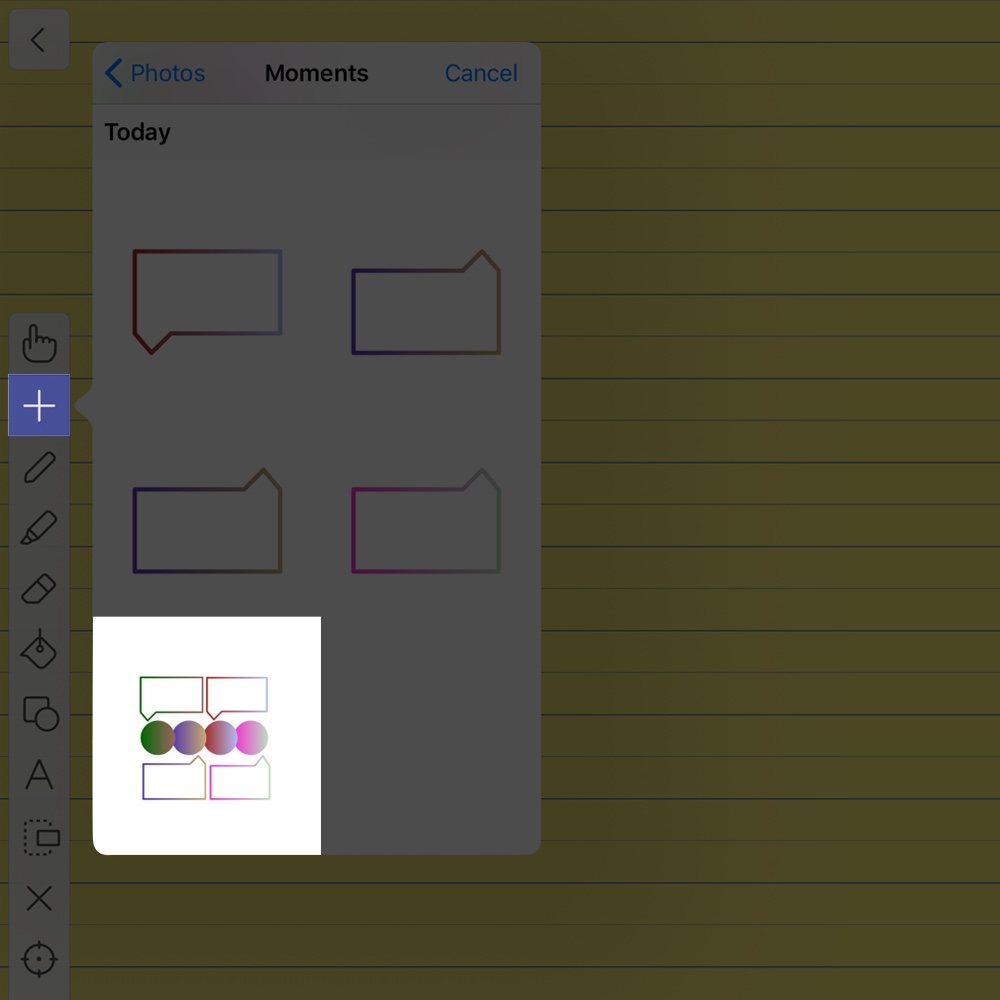
Save an Asset as Clipart

We often find ourselves reusing the same image or graphic and annotating on them in our presentations. It can be frustrating to constantly have to go through inserting an image only to re-add your annotations each time. This is where Explain Everything’s Add as clipart feature steps in to save the day! Add any asset to your clipart library and have them at your fingertips to reuse as often as you like without adding those necessary details each time.
This week we’re going to explore saving assets as pieces of clipart!
What you’ll need
- Explain Everything
- An existing image
Step 1
Start a new project, either blank or from of brand new templates, or simply open an existing project. Now tap Insert -> Existing Image/Video and add an image to your canvas.

Step 2
Now, Annotate on your image. You can use text, drawings, shapes, or even insert more images! When you’re finished annotating, open the Inspector. Tap all of your annotations as well as your original image and in the Edit tab, tap Group and then Add as Clipart.

Pro Tip
- Already insert your clipart and need it again? In the Insert menu your most recent clipart will show up under Recent Files! Just tap it to insert it again!
Step 3
Now your grouped image and annotations is a piece of clipart! To use it, tap Insert and then Clipart. On the bottom of the Clipart menu, tap the pencil icon to access your custom clipart. Now simply tap it to add it to your canvas!

Now you can reuse assets, especially those created and annotated on in Explain Everything, quickly and easily! Check out this short video to see the process in action!
How do you use custom clipart? Tell us using #EETuesdayTips!
Happy Explaining!
Do you use Explain Everything in an interesting way or would like to see something explored in depth? Contact us at connect@staging.explaineverything.com with your suggestions!

