Create a comic in Book Creator and animate it in Explain Everything
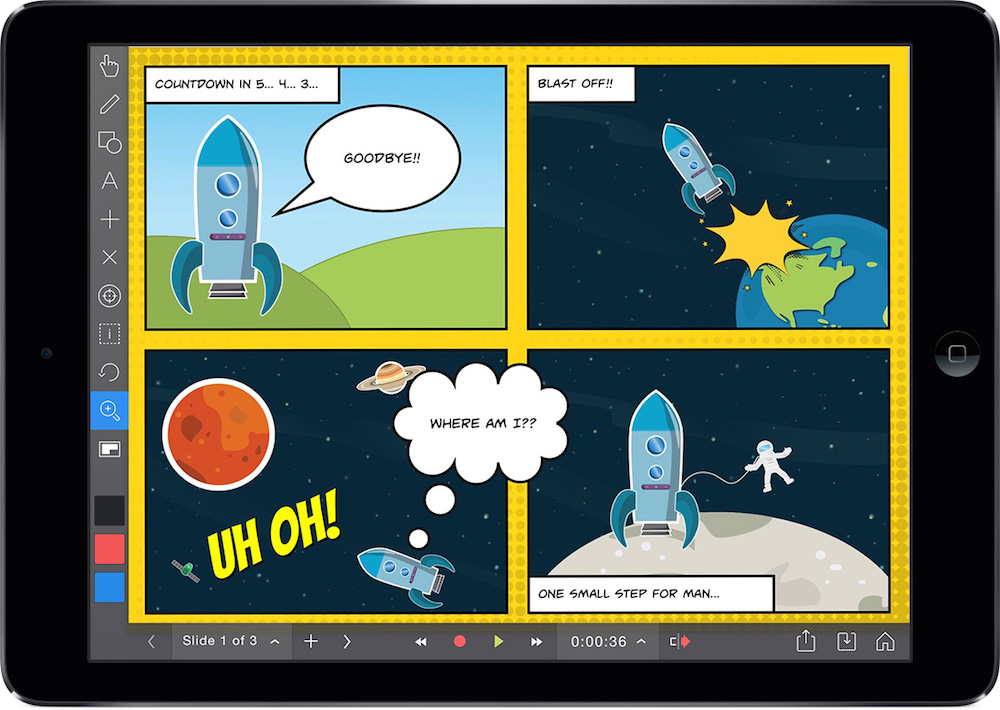
Table of Contents
Part 3 of a 4-part series looking at how the popular educational apps Book Creator and Explain Everything can be used together.
Other posts from this series:
Part 1: Exporting a PDF from Book Creator to annotate in Explain Everything Part 2: From Explain Everything to Book Creator to iTunes UPart 4: Hand-drawn animations in Explain Everything – published with Book Creator
Dan from the Book Creator team is back to look at another way in which Explain Everything can be “app-smashed” with Book Creator to create something unique.
The scenario: Using Explain Everything to animate a comic book made in Book Creator, to create a fun video.
Book Creator 4.0 has just been released onto the App Store. With this update there are now comic book templates and styles added to the app, to make really simple and fun comic books.
We’re going to go through creating the comic book, exporting it as a PDF to Explain Everything, recording an animation using the pan and zoom tool, and exporting the end result as a video.
Watch the video to see how this can be done or follow the steps below.
Creating the comic in Book Creator
Note, you’ll need to have the full version of Book Creator to access the comic styles, or have paid for the in-app upgrade in the free version.
- From the My Books screen, tap New Book, scroll down and choose a comic template.
- Tap the + button and choose Panels to select a layout for your page.
- Tap on the Photo icon inside a panel to add a background element to it. Other images can be added by tapping +, then More, then Photos.
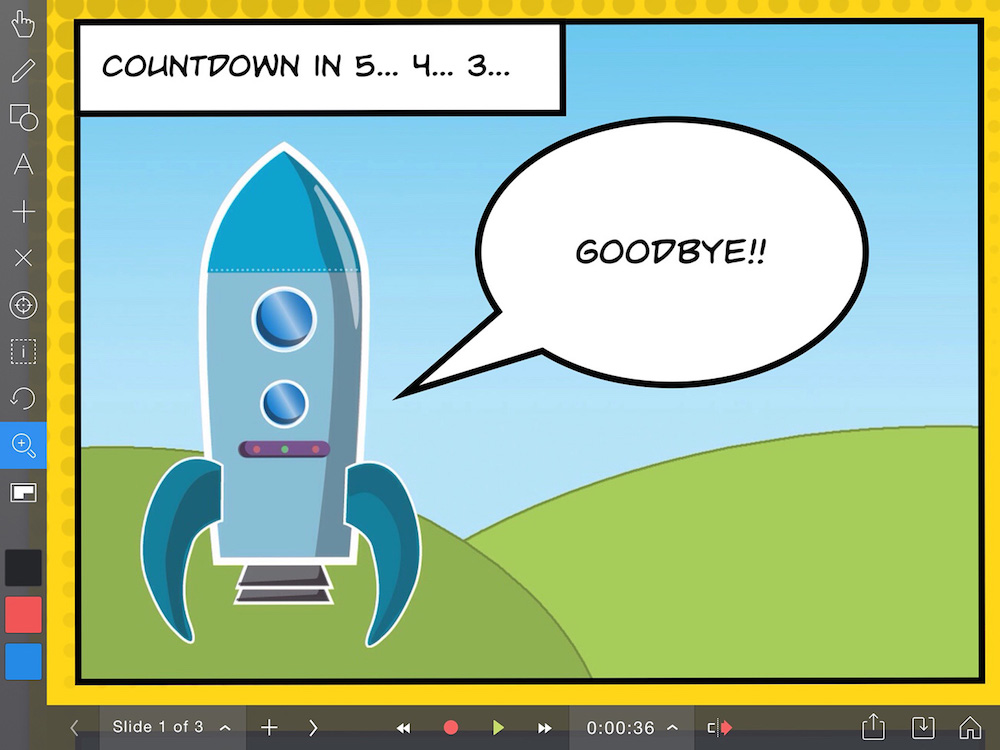
- In panel 1, I add a speech bubble by tapping the + button in the toolbar, and choose Speech. Now you can type directly into the bubble and resize it. Note you can also reposition the arrow coming out of the bubble.
- In panel 2, add a sticker by tapping +, then More, then choose Stickers.
- In panel 3, add the impact text by tapping + in the toolbar, then Add Text. You can choose from the default styles. If you want to format the style of the text afterwards, tap the Inspector (i) whilst the text is highlighted.
- In panel 4, add a caption by tapping +, then Add Text, and choose Caption. Once you’ve added the text you can drag it into position. Look out for the green lines to help you align the text inside the panel.
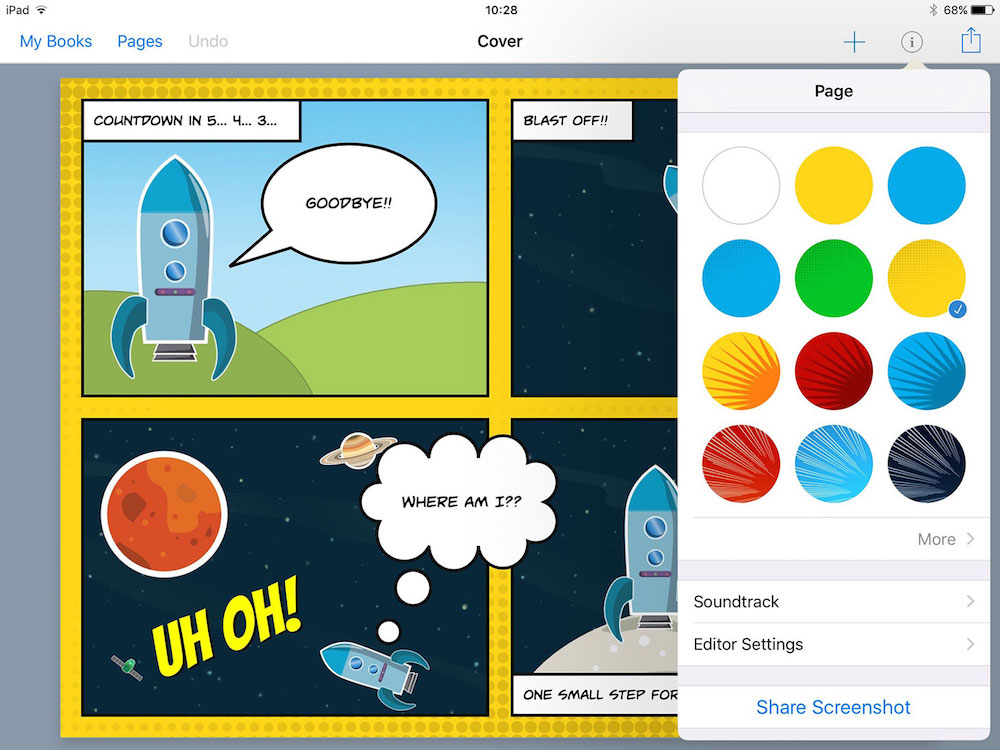
- Finally, change the background. When nothing on the page is selected, tap the Inspector and you’ll be presented with an array of colourful backgrounds. The standard backgrounds are also there if you tap More.
Exporting the book as a PDF and opening in Explain Everything
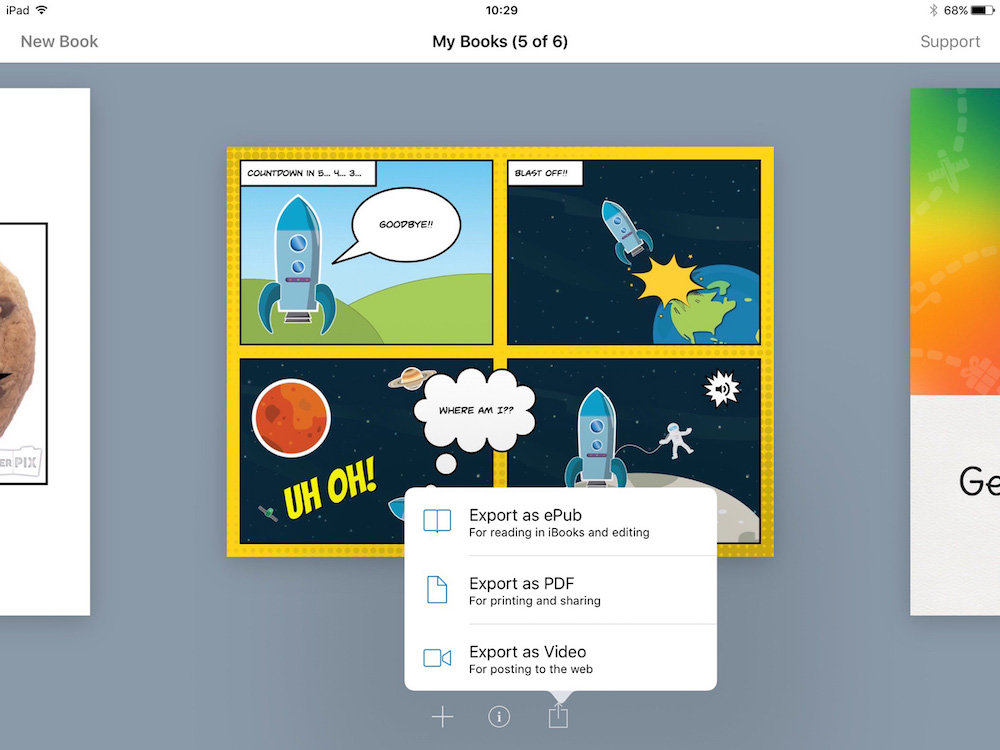
- In Book Creator, go to the My Books screen and tap the export icon beneath your book (the one on the right).
- Choose ‘Export as PDF’ and then choose ‘Single pages’ (not that it matters – there’s only one page anyway).
- From the options presented, first tap the ‘Open in…’ icon and then you’ll choose Explain Everything.
Animate the comic in Explain Everything
The effect we’re going for is a transition between the panels of the comic, to create a short, fun video. This cannot be done in Book Creator so it’s great to be able to use Explain Everything to achieve this effect.
- The first thing to do is to use the pinch motion (two fingers) to enlarge the first panel so it fits nicely into the frame. Explain Everything will remember this position in the canvas and use the same setting when you zoom in again later.
- Choose the Pan and Zoom tool by selecting the icon in the left toolbar (it looks like a magnifying glass with a + inside). Using this tool will help ensure a smooth transition when you start moving the canvas.
- Tap the Record button in the bottom toolbar before you begin.
- Now move the canvas from Panel 1 to Panel 2, as smoothly as you can. Next, use a pinching motion to zoom out, and then double tap your finger on Panel 3 for a smooth zooming-in motion (this is why we positioned the canvas first). Finally, scroll the canvas across to the last panel.
- Stop the recording.
Exporting the book as a video
We want to get the animation from Explain Everything into our iPad’s video library.
- Tap the export icon in the bottom right of the toolbar (the one with the arrow pointing upwards).
- You’ll see a list of options for exporting. Video will already be selected by default, but you’ll want to toggle off the ‘All slides’ in the top right and choose just the slide with your animation. Tap Confirm when done.
- Tap the Photos icon to begin the export. It will take a while for the video to compress and export.
- When done you can play the video from your iPad’s photo library.
Bonus – edit the video in iMovie
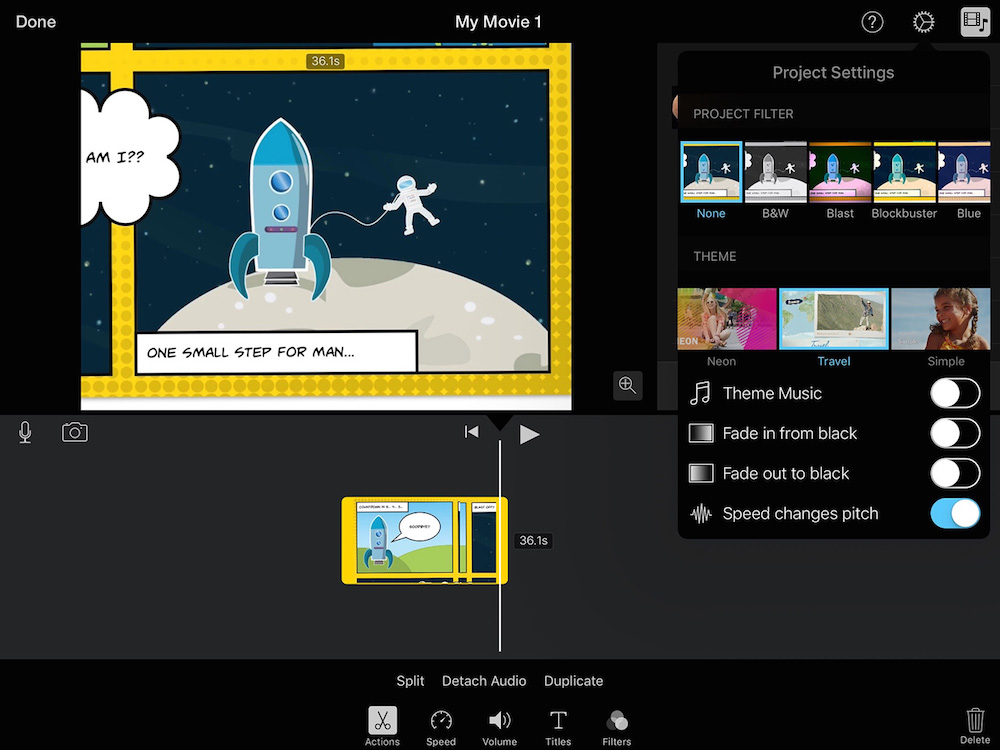
If you wanted to make further edits to the video, for example to speed up the transitions between panels, or to add music or sound effects, you could open the video in the iMovie app on your iPad.
Check out the end of the tutorial video above where I’ve made my own edits using Final Cut Pro X on a MacBook to improve the finished product.
For some guidance on using iMovie to edit videos, check out this blog post from the Book Creator team.
About Book Creator
Book Creator is the no.1 book app in iTunes in 80 countries, and a very popular educational app responsible for the creation of over 15 million ebooks so far.
Book Creator is available on iPad, Android tablets and Windows devices. Find out more at bookcreator.com.

