Retrospective templates to show student progress and why you need them

Table of Contents
Using retrospective templates in education
Hosting retrospectives in the classroom helps students and teachers recognize the things that are going well and the areas that need to improve. By using retrospective templates with the help of classroom technology, educators can assess student progress, identify concerns, and more — without lengthy analysis sessions.
To help you make the most of retrospective templates in your lessons, we’ll explain what they are, how to use them, and how to make them with Explain Everything. Plus, we’ll share some of our favorite ready-to-go templates so you can get started right away.
What is a retrospective?
Put simply, a retrospective is an activity that looks back on past work.
The term is more commonly used in corporate settings than education, but it has its place in both.
In the world of work, there are a few key types of retrospectives:
- Sprint retrospective — when a team looks back over what progress was made over a sprint (i.e., a defined length of time, such as a week or month) and assesses what learnings they can take from this to improve the next sprint.
- Agile retrospective — when an agile project team (i.e., a team who’s working in iterations) takes stock to review how well an iteration went and what they can do differently next time; this approach is commonly used by software developers.
- Project retrospective — when a project manager brings together a team to review all the work they’ve done and take away learnings for how they’ll approach a similar project in the future.
Whatever format the retrospective is, it’s always about reviewing the work completed, thinking about the good and the bad parts, and working out how you’ll do better next time. And that’s why retrospectives deserve a place in education for seeing how far students have progressed — and what they need to help them go further.
In the classroom, teachers can run retrospectives with their pupils. After having finished teaching a topic or a set time passes (i.e., a semester), teachers can host retrospectives that encourage their students to think about what — and how — they’ve learned.
Teachers can also conduct retrospectives among themselves to evaluate their teaching. For example, educators can host a session to discuss how they thought a semester went, the challenges they faced, and what classroom management styles they found most effective. This allows them to understand what worked well, and what they want to take forward into the term ahead.
While educators can evaluate their skills with traditional corporate retrospective methods, they can use a less formal approach to assess student progress. And that’s where retrospective templates come in.
Why are retrospective templates important?
Teachers have to cover a lot of things, so they can rarely dedicate entire lesson plans to looking back on what they’ve already taught. However, using retrospective templates makes hosting run-throughs more doable. Having a templated approach to running a retrospective means that teachers can ask students to assess themselves without using too much valuable lesson time. Plus, teachers do not have to worry about extra lesson preparation. Instructors can use the same template time and time again.
With a retrospective template, it’s quick to ask students to look back on their learnings either independently or as a group. While people often associate retrospectives with lengthy meetings, it can be as simple as a feedback form.
The use of retrospective templates encourages students to reflect on the work they’ve done. Instead of moving straight onto the next topic, a retrospective template gives pupils a chance to check in with the progress they’ve made — and an opportunity for teachers to assess this.Think of them as informal summative assessments.
Retrospective templates help teachers identify knowledge gaps and areas where support is needed. Which students are struggling, and how can you adapt future lessons to suit their learning needs? Retrospectives facilitate important conversations, and what comes out of these conversations shapes future lessons.
As well as templates being more time-efficient than retrospective meetings, the nature of a template also makes the activity more appealing to visual learners. Templates can be color-coded or illustrated. Plus, templates give everyone a reference point they can look back on. So, students and teachers can compare learning over time by looking at different templates. And if the templates are digitized, using software like Explain Everything’s online whiteboard can help as they’re easy to keep and share.
Different types of retrospective templates
As retrospective reviews are used to look back on a wide variety of work (whether that’s corporate or academic), there are lots of different types of templates.
Retrospective templates can be as specific or general as you need them to be. Classic retrospective approaches focus on asking, “What went well?” or comparing how it started vs how it’s going. Teachers can build templates with these angles in mind, changing the specific questions to suit what they’re assessing. Asking “What went well?” will work best when seeing what teaching methods students enjoyed in that semester’s lessons. Educators can use a how it started vs how it’s going approach to see how far pupils have progressed with a skill.
You’ll need to choose your template based on what the retrospective is looking back on.
Some examples are:
Academic-based retrospective templates
Do you want to find out what your pupils have learned? If so, the template’s retrospective questions should check knowledge. It’s not a test, but the template should give students space to say what they’ve learned and what they still do not understand. Teachers can also incorporate grades and scores from formal or informal assessments into academic-based templates. For example, pupils can comment on what they scored on a paper, share what they learned from feedback, and explain what they aim to do to increase their grades.
Skills-based retrospective templates
Sometimes, education is more about a general skill than a specific topic. If children are learning computer coding, painting, or storytelling, the template’s retrospective questions will focus on strengths and weaknesses. “What’s easier for you now than when we started?” and “What do you still find hard?” cover how much of a skill has been learned and what’s still to be developed.
Goal-setting retrospective templates
What did your pupils want to achieve? And did they achieve it? Students and their teachers can use templates that focus on specific goals to measure how far they’ve come along with an aim (and how much further they’ve got to go).
Behavior tracking retrospective templates
Educators can also use retrospective templates to measure student progress in terms of behavior. Teachers can use these templates to help pupils with self-reflection. If a pupil has been having difficulties with behavior, such as being disruptive in class, they can use a retrospective template to help them look back on their behavior and recognize opportunities to improve it.
How to create retrospective templates with Explain Everything
By making your own retrospective templates, you create an efficient way of assessing your pupils’ progress — whatever you’re looking back on and whatever the period is. It’s simple to bring your retrospective ideas to life with Explain Everything.
Explain Everything is a valuable retrospective tool, as you can speedily design templates with its Whiteboard app that you can roll out to your entire class.
To make your own Explain Everything retrospective template, simply:
- Sign in or create a free account
- Open the Whiteboard
- Select a Blank Canvas
- Use the built-in tools to make your template (e.g., Text Tool to add retrospective questions, Shapes to create boxes for pupils to write their answers in, and Add Media to make the template more visually appealing).
- Once you’re satisfied, export the template as a file, which can be sent to others or printed out as a handout. If your pupils have access to their own Explain Everything accounts, you can share the Explain Everything project, and they can annotate the templates using the Whiteboard on their own devices.
It’s simple to adjust your templates to suit different learning goalaims, and retrospective purposes, and summative assessment aims. Although creating a template will give you the most flexibility, you can save time using Explain Everything’s readymade templates. Use them as they are or easily edit using the same tools.
Explain Everything’s fun retrospective templates
Explain Everything has a free Templates Library filled with excellent resources for teachers — including fun retrospective templates. Educators can use these colorful designs as is or adjust them using Explain Everything.
When you run a retrospective, you want maximum participation. The interactivity of Explain Everything and the bright designs of the templates will encourage pupils to get involved.
Learning target tracker template

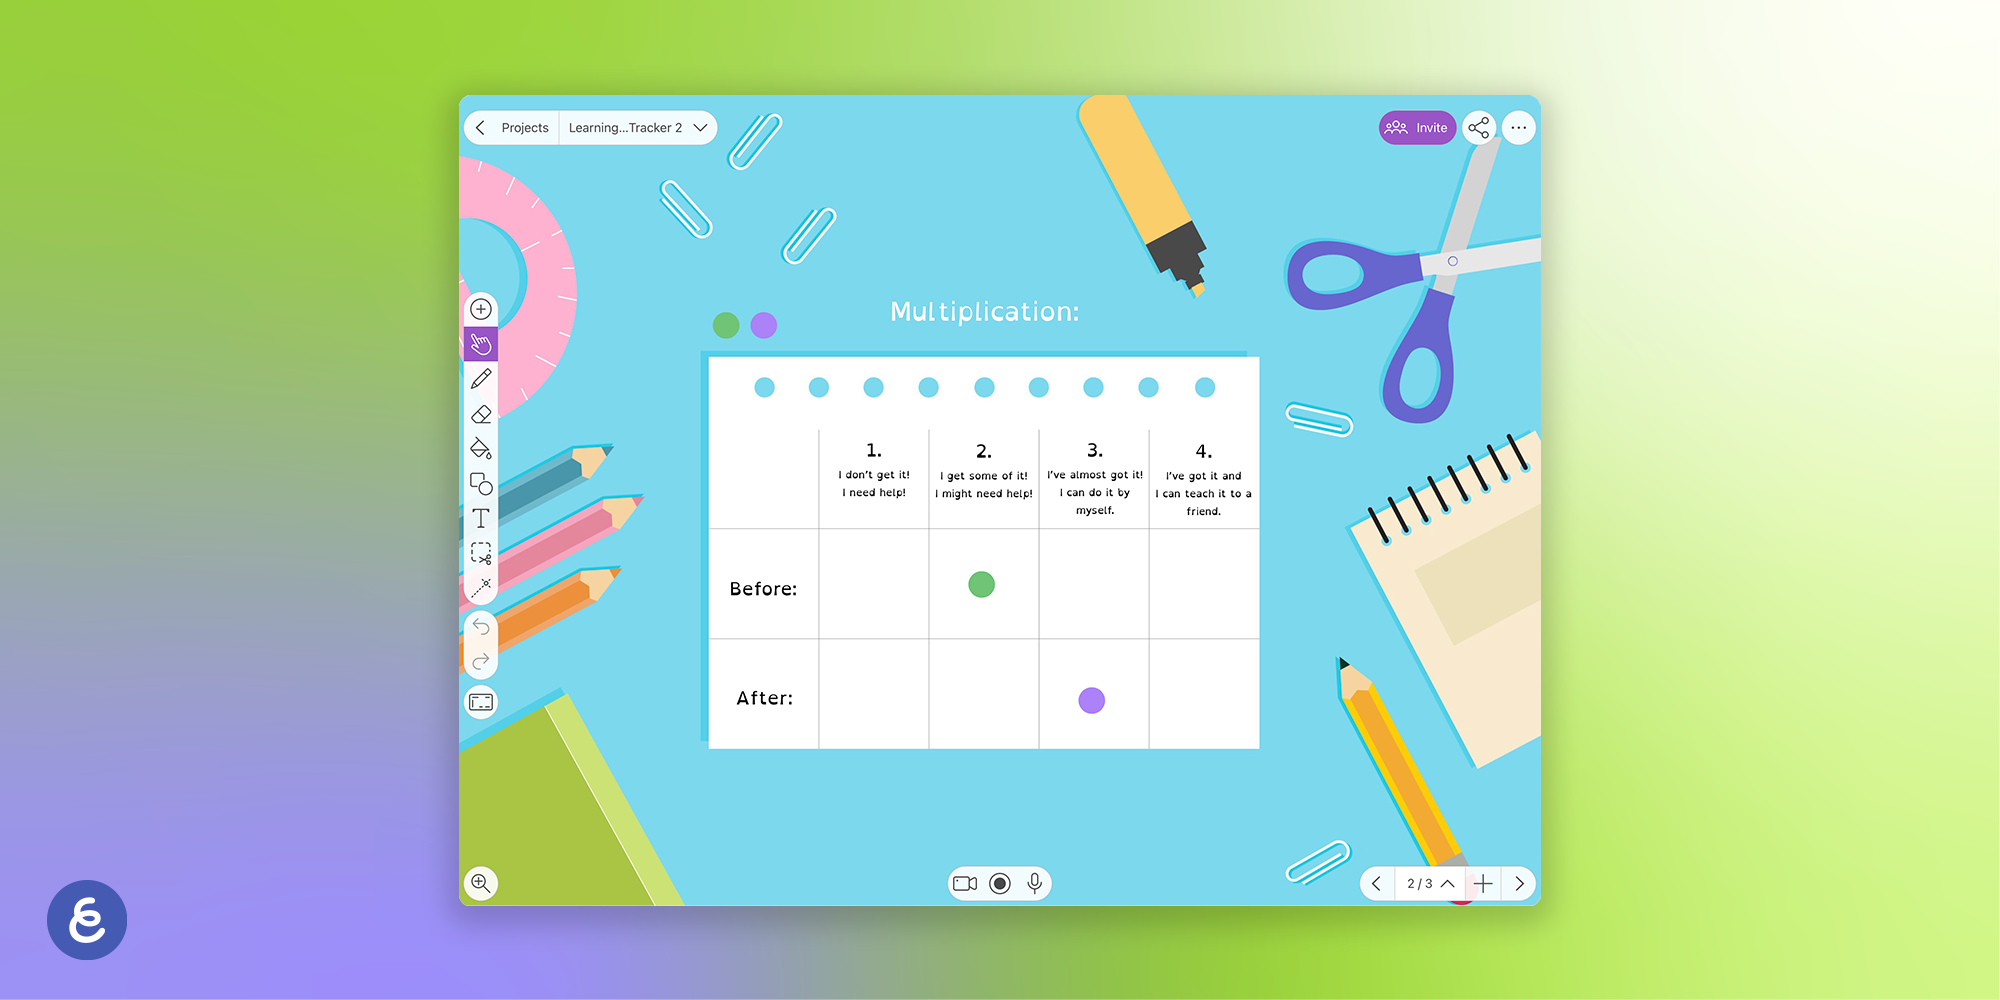
A learning target tracker is a great way of showing student progress by creating a quick visual comparison of how it started vs. how it’s going.
Teachers can use this template to pre-assess students’ academic knowledge or skill level before starting a subject or project. To do this, educators need to ask their students to grade themselves against criteria in the ‘Before:’ row. If students do this digitally via Explain Everything, it’s easy for their teachers to relocate the files when it comes to the retrospective. To measure progress, simply load up this template again and ask pupils to rate where they are in the ‘After:’ row. Teachers and pupils immediately get a view of how far they’ve come.
When you open the template, you’ll see more pointers that help with how to use this tracker and customize it.
What ‘stuck’ with you? template

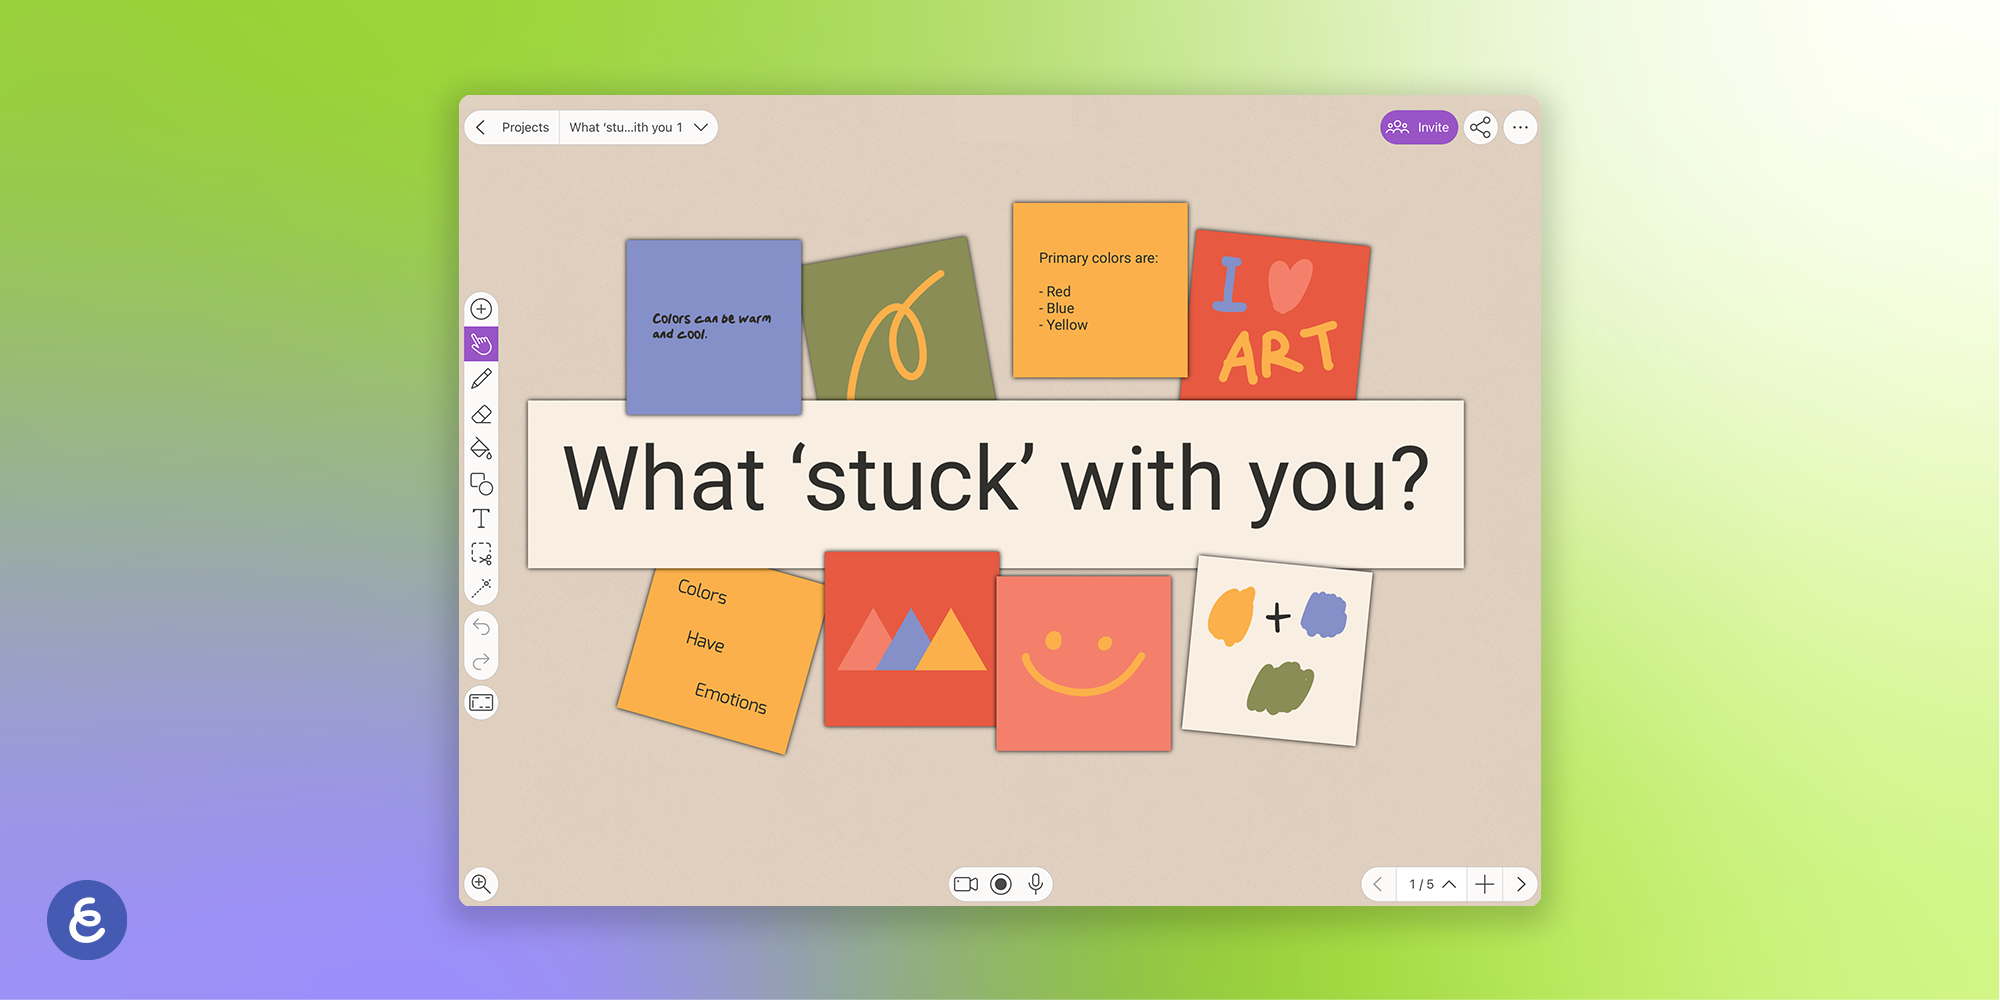
The ‘What ‘stuck’ with you?’ template is a great way of assessing what went well in a lesson or a longer learning period. Pupils can fill in this template individually or collectively as a class. By using Explain Everything’s online whiteboard technology on an interactive display, like a Promethean ActivPanel9, teachers can invite students to write their thoughts in these stickies (using compatible pens or their fingers).
While this template is great as a check-in point at the end of a lesson, it’s a good idea to adapt it for a retrospective. A good retrospective will always explore the negatives alongside the positives. So, if you want to run an interactive retrospective, simply adapt this template to have versions such as “What did you like?” and “What did you not like?”. You can then dissect the responses as a class.
3-2-1 Reflection template

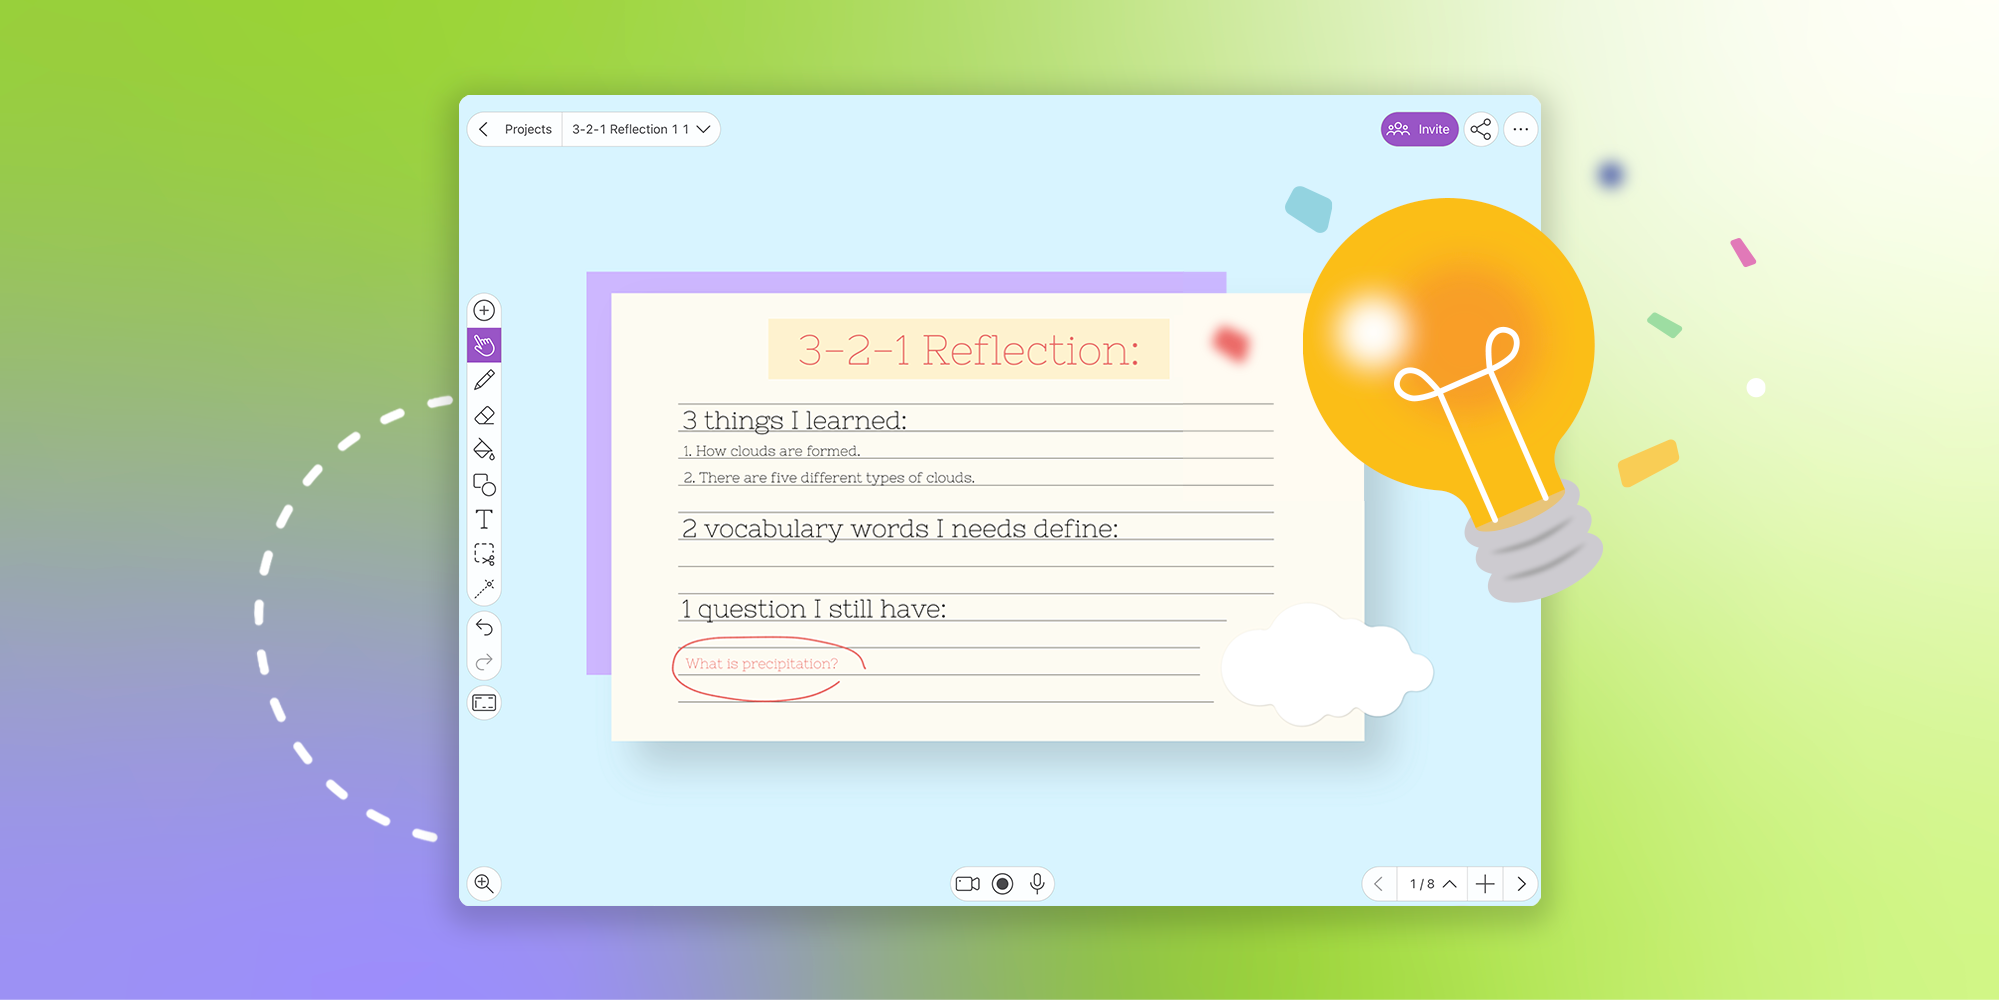
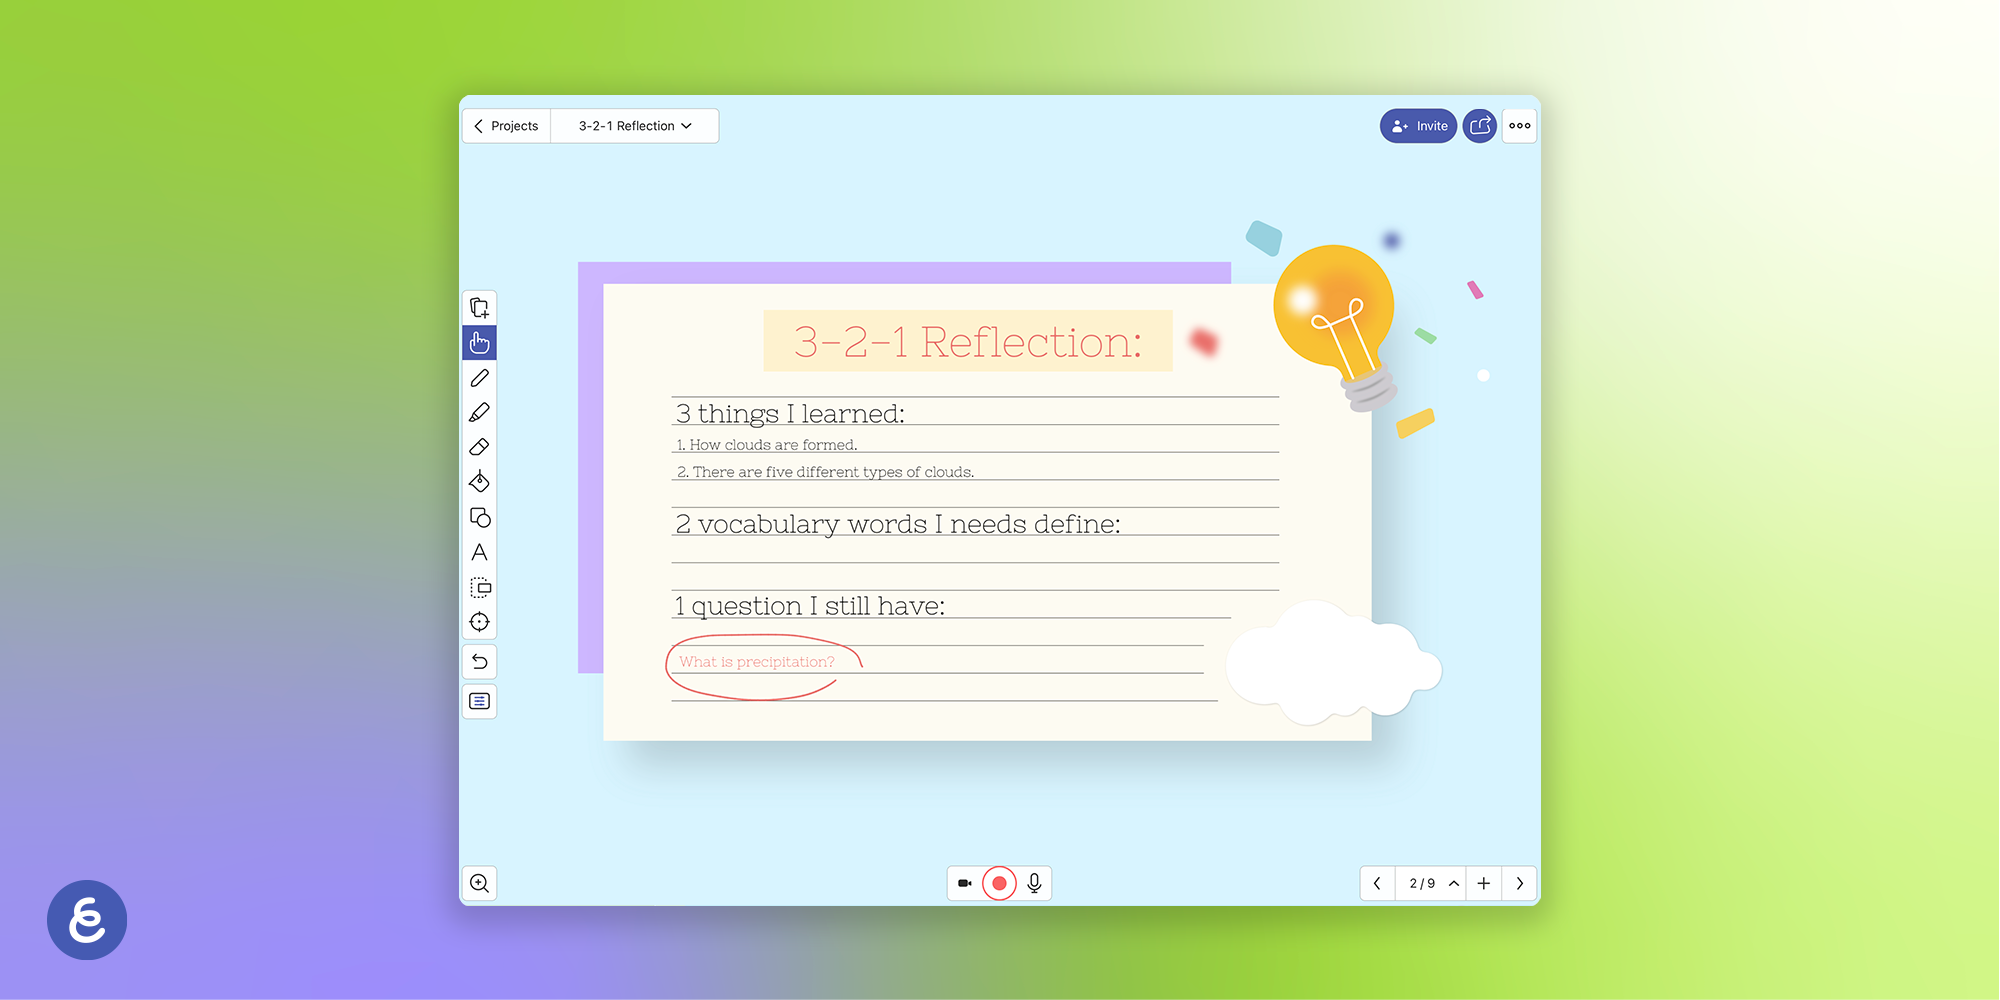
The 3-2-1 template divides reflections into three areas: one with three thoughts, another with two, and a final section with just one. Teachers can adapt the template to ask retrospective questions.
One way educators can use a 3-2-1 reflection template is to invite pupils to reflect on three things they’ve learned, two things they want to explore further, and one thing they do not understand.
Teachers can ask their students to fill these in independently to maximize the honesty of the responses. Some pupils will not share the things they do not understand in front of everyone, so filling in personal retrospectives on their own devices ensures teachers get a more accurate understanding of knowledge levels. Following this activity, teachers can share their findings with the class and address the areas that require extra support.
How to run a retrospective
How you run a retrospective will depend on various factors, such as the nature of what you’re looking back on, the age of your pupils, and your teaching style. Whatever type of progress your retrospective is measuring, choosing (or creating) an Explain Everything template is a great place to start.
By using an Explain Everything template, you can take several different approaches to running a retrospective.
For example, you can begin a retrospective by encouraging every pupil to complete their own version of the same template. They can do this via a printed template or digitally on their own devices. After this, you can invite pupils to share their thoughts with the class and discuss things collectively. You can also ask every student to give or send you their templates so you can assess them in more detail. A retrospective can be split into two phases. So, if you spot something troubling in the feedback, you can host a more in-depth retrospective that digs deeper into common themes.
For a fun and interactive approach, you can pull up a template on an interactive display for the class to see. You can then invite pupils to come up and write on the display or type up the thoughts of students as they speak.
However you run your retrospective, the most important thing is to take action afterward. While retrospective templates will show students who are progressing well, they’ll also identify struggling students. The next steps will be to address any knowledge gaps and take on feedback to improve future lessons. Failure to act on the findings from a retrospective is a missed opportunity to help students who’ve fallen behind get back up to speed. Plus, pupils will be less keen to take part in future retrospectives if they never see feedback actioned. So, make sure you approach retrospectives with a willingness to hear what’s said and make adaptations.
Using Explain Everything to create retrospective templates — and more
Explain Everything makes it easy to use retrospective templates in the classroom. Whether you’re making your own with the flexible Whiteboard tools or deploying a readymade design from our Templates Library, it’s simple to find something that works for you and your pupils’ retrospective needs.
To get started on your Explain Everything journey, sign up for a free account. Like what you see and want access to additional features and unlimited custom templates? Upgrade to Explain Everything Advanced.
Recommended articles:
- A teacher’s guide to different types of assessments
- Student-Centered Learning Strategies to Improve Your Teaching
- Student engagement apps – Check out these 3 solutions!

