Annotating on Imported Slide Decks
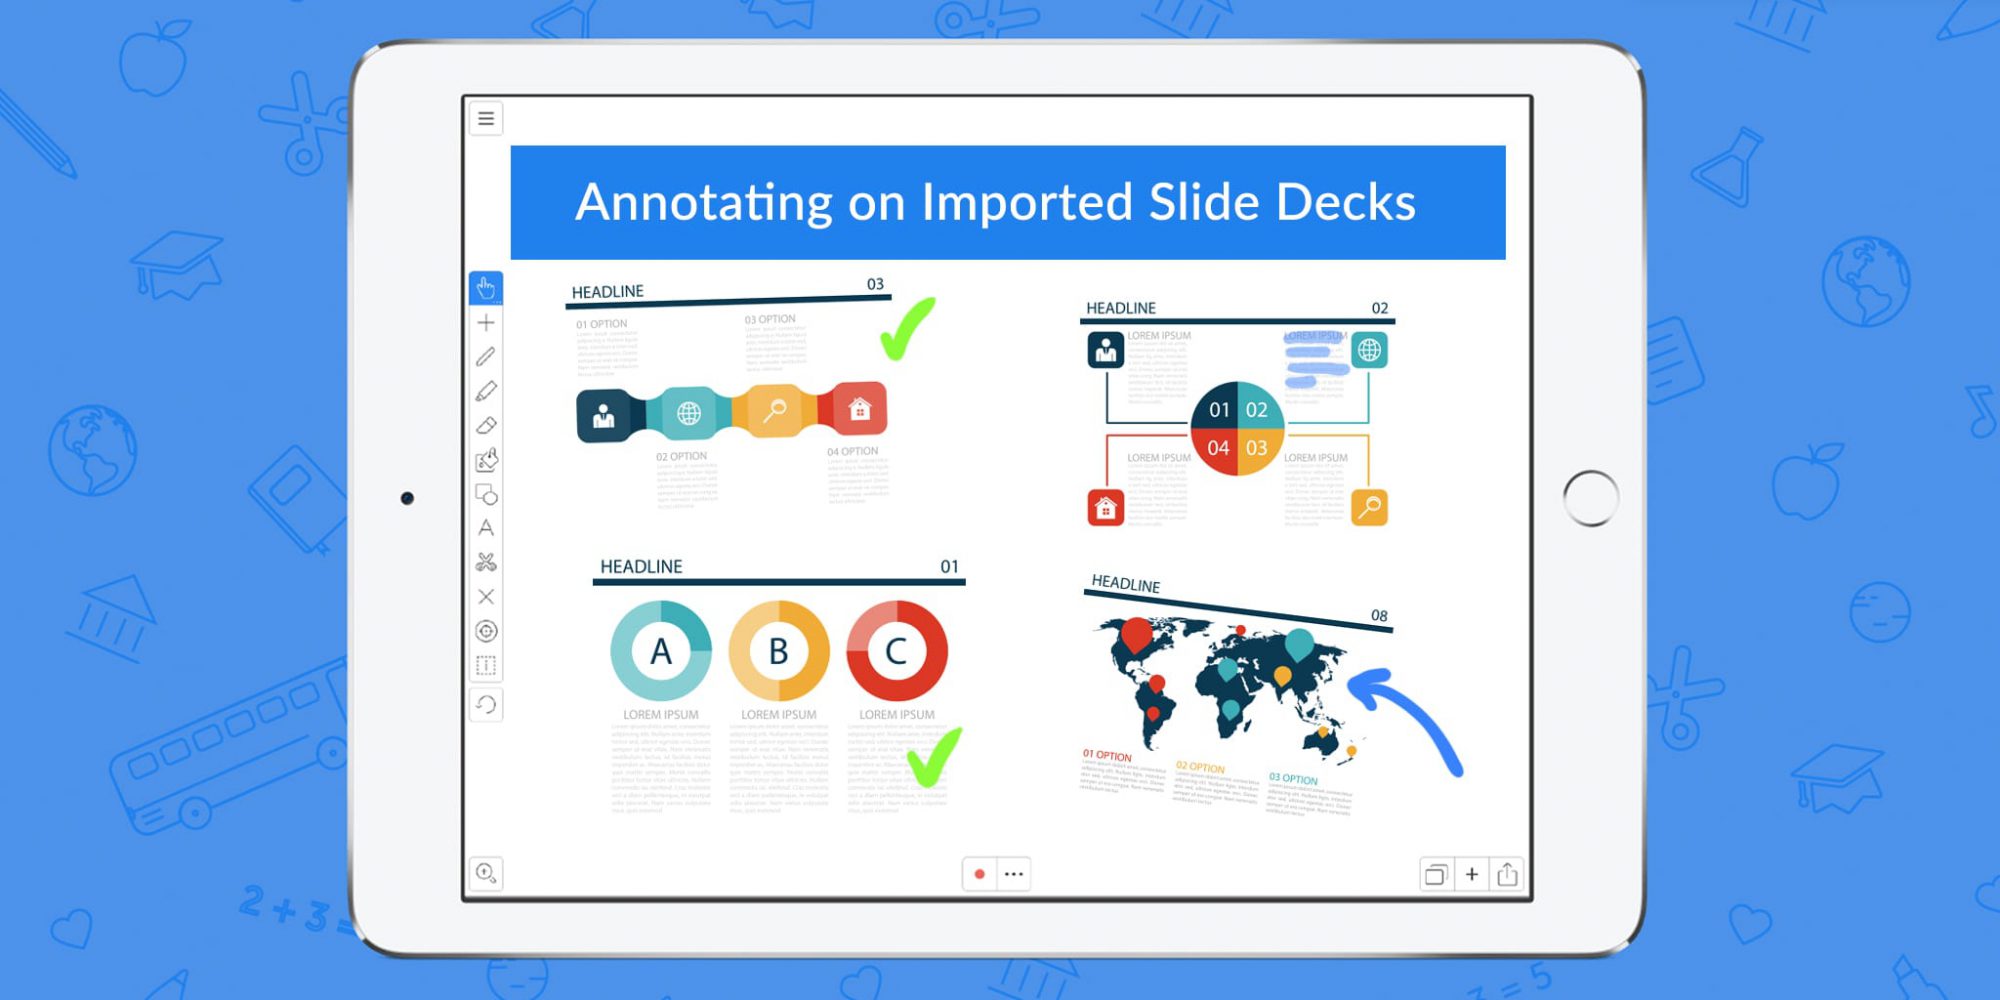
Table of Contents
Is this your first time checking out Tuesday Tips? Be sure to check out last week’s post for part one!
When giving a presentation using a slide deck, do you ever wish you could just reach into the minds of your audience to clarify your point? Or perhaps someone sends you their slide deck looking for feedback. If only there were a way to paste your beautiful face explaining your well thought out point directly into your colleague’s slides. Well, now not only can you add your talking head into your project, you can annotate directly onto your slide deck. No more stickies, awkward comments, or miscommunications. Annotating on a slide deck in Explain Everything is a fantastic way to balance effectively getting your point across and maintaining interest and flow while presenting your information.
In this Tuesday Tips we’ll show you how to annotate on your slides now that they’re inserted into an Explain Everything project.
What you’ll need:
- A project with your inserted slide deck (see week 1)
- Explain Everything
- Fingers, or an Apple Pencil/stylus if you’re feeling fancy
Step 1
Now that your slide deck is beautifully imported into Explain Everything you can begin organizing and annotating. For this tip we’ll assume that you chose to import the slide deck onto one slide and tapped align vertically when importing the deck.
First things first, open the Inspector and tap your vertically aligned slide deck to select it. Now that the deck is selected with the inspector, tap Lock Horizontal. This feature prevents your deck from being rotated so you can scroll up and down easily.
Step 2
Next, use the Zoom tool to zoom out and give you space to start annotating on and around your slide deck. From here, you can select the Pen tool and draw on your slides to drive home a point, select insert and add an image, video, or clipart to your canvas to bring clarity to your ideas. Your canvas is truly, well…your canvas. Add a few annotations to your slide deck.

For our purposes, we’re going to add a quick video explanation. Select Insert and then tap Video. A live view of your camera will appear on the screen, drag this next to the point you would like to talk about in your slide deck. Change the camera to front facing if it’s not by tapping the camera symbol under the video. Tap the Record button under the video and begin your explanation. Tap record again when you’re finished.

Pro Tips:
- Want straighter lines? Tap the Draw tool -> pen and select the ruler. Now your lines will snap to the edge of the ruler!
- Use the Highlighter tool to show your audience exactly what point you’re talking about
- Keep your annotations organized! Use the Shape tool to create boxes to add your annotations.

Step 3
Now that you have all of your annotations, it’s a good idea to group them together so they’re one entity. First, select the Zoom tool and zoom out so you can see your whole slide deck plus your new annotations. Select the Inspector and tap Edit. Now tap each item on your canvas (slide deck, annotations, etc.) and press Group in the inspector. Now the entire presentation can be moved around as one item.

Now you have a beautifully annotated slide deck that gets your point across easier and your ideas clearer. Be sure to tune in next week for Part 3 of this series of Tuesday Tips on how to use the zoom feature as an attention grabbing power tool!
Is your slide deck wonderfully annotated? Move on to part three of our slide deck tips: Zooming for Emphasis
Happy Explaining!

