5 Tips for Creating Great Projects
Sam Gleason, Explain Everything user extraordinaire, is back this week with his final tip, and it’s not just one tip, but five! Sam goes over his five best tactics for creating amazing tutorials. Sam has been using Explain Everything since 2014 and currently works full time creating tutorials for Southwestern Advantage. He’s been kind enough to demonstrate some of his great techniques to help make your projects more engaging!
This week’s Tuesday Tip gives five (!) great tips for creating the best project you possibly can!
What you’ll need:
- Explain Everything
We hope that Sam’s month of video tips have given you some great new techniques to make great projects. We can’t wait to see what you create!
Happy Explaining!
Do you use Explain Everything in an interesting way or would like to see something explored in depth? Contact us at connect@staging.explaineverything.com with your suggestions!
Transcription:
In this video you’ll learn 5 tips for recording great tutorials. Tip number one. Record your audio or your video first, but not both at the same time. It’s easier to make mistakes when you’re doing two things at once. Record video first if you’re doing a step tutorial. For example, showing how to solve a math problem with many steps. Focus just on making your drawings and steps very clear. Then, rewind, turn the mixer on, and narrate what you were doing. Try recording your audio first if you’re doing a report and then go back and add visuals to support your narration. And don’t just read your report. Think about pausing. Where will you need a moment to show a picture or have a little time to pan an image or slowly zoom in? Include those pauses when you record your narration.
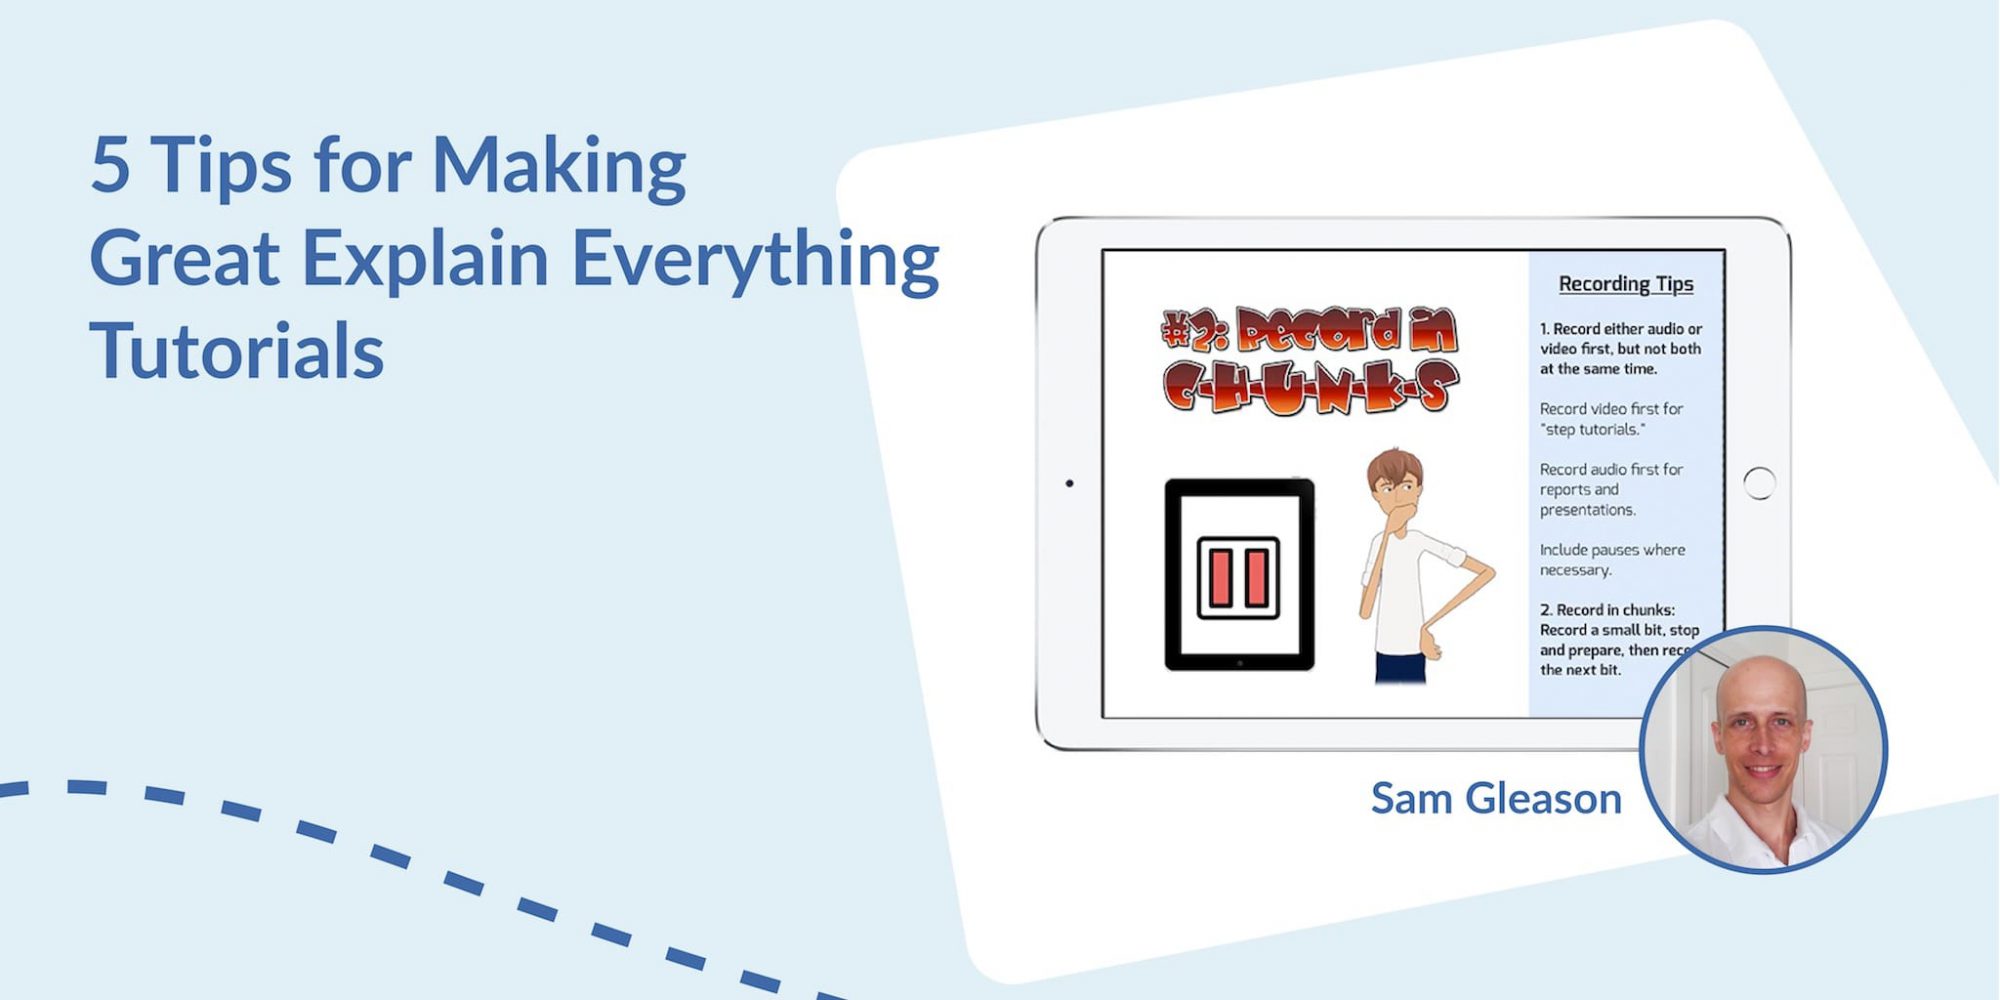
Tip number two! Try recording in chunks. Record a small bit, stop and prepare then record the next bit. Often, students record a project in a single take without ever pausing the recording. They end up recording every action they take including the mistakes. Mistakes can be avoided by recording in smaller bits. Think about what you want to say or show, record that one part and then pause the video and prepare for your next part. Even actions that aren’t mistakes can add up to make your video painful to watch. Do you really think people want to watch you do things you could have prepared earlier? Imagine having company over, but waiting until they arrive before you started cleaning up and preparing for their visit.
That brings me to my next tip. get your graphics and your drawings ready before you start recording. You can import or create your graphics ahead of time and then just keep them off the stage for later use.
Tip number four. Rewind and watch your recording often. Finding mistakes is much easier if you catch them early. I’ve seen students make mistakes that required them to delete half their video to fix. By recording in small pieces and rewinding and reviewing often you’ll catch mistakes before it’s too late.
Finally tip number five. Find your microphone and speak near it when recording audio. Different iPads have the microphones in different places. Find it and don’t change your position when you start to record. In other words, stay in one place as you record. If you move your head or pick up the iPad it will affect the audio. The number one cause of bad audio records is holding the iPad while recording. Setting the iPad down will make a huge difference in audio quality.
I hope you find these tips useful. Now go forth and explain!

