3 Collaborative Whiteboard Strategies for Online Education and Business
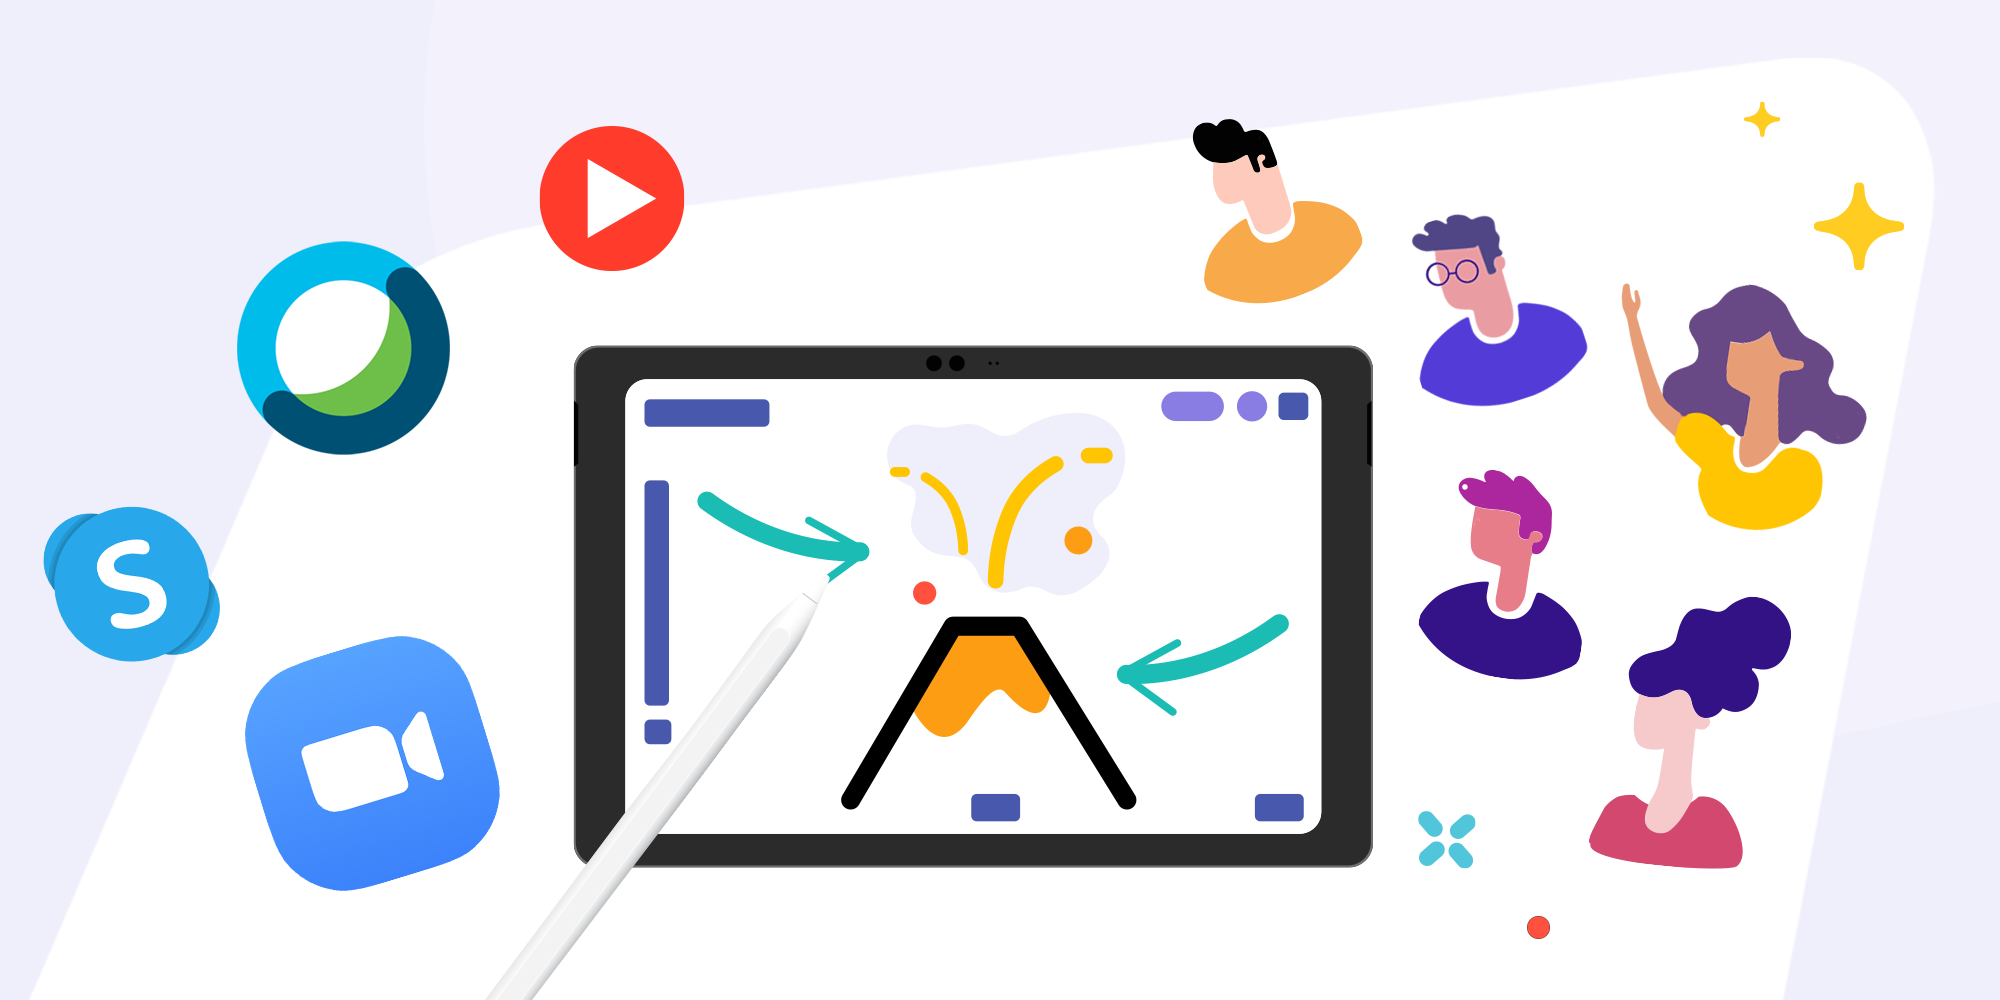
Table of Contents
Online learning may never be able to replace actually being face to face with a teacher. However, there are situations where teaching or learning remotely is the only option. Let’s look at three scenarios in which remote communication can be supported by a whiteboard for learning and teaching as well as conducting organizational business.
🎬 Share whiteboard videos with anyone
When concepts and content can be shared visually with spoken explanation, whiteboard videos are an incredibly easy way to create and share. Don’t think highly polished YouTube tutorials. Instead, think of videos that resemble an over-the shoulder look at a whiteboard or sheet of paper canvas where voice, visuals, and actions can be used to explain, well, everything.
Use Explainer Videos in the Classroom. Remote Teaching with a Digital Whiteboard
An explanatory whiteboard video: Is asynchronous — it can be watched anytime, anywhere. Should be posted on your learning/content/project management system (e.g. Google Classroom, Canvas, etc.) within the context of a project/lesson.
Step 1: Set your board. Add your materials or slides. Alternatively, you can start with a blank canvas and explain using drawings if you like.
Step 2: Press Record. Everything you say and do on the canvas will be captured.
Step 3: Export as a web video link and publish the link to your LMS/CMS. If you use Explain Everything Basics (iOS only) you can export a video file and manually upload it to LMS/CMS.
💡 Our recommendations:
– Keep videos under 8 minutes. Break longer content up into smaller videos.
– Don’t record everything in one go. Use the mix recording functionality to add new elements layer by layer.
– Don’t attempt perfection right off the bat. Use our timeline editing to improve your final result.
Record videos with the whiteboard
Get this free video-instruction!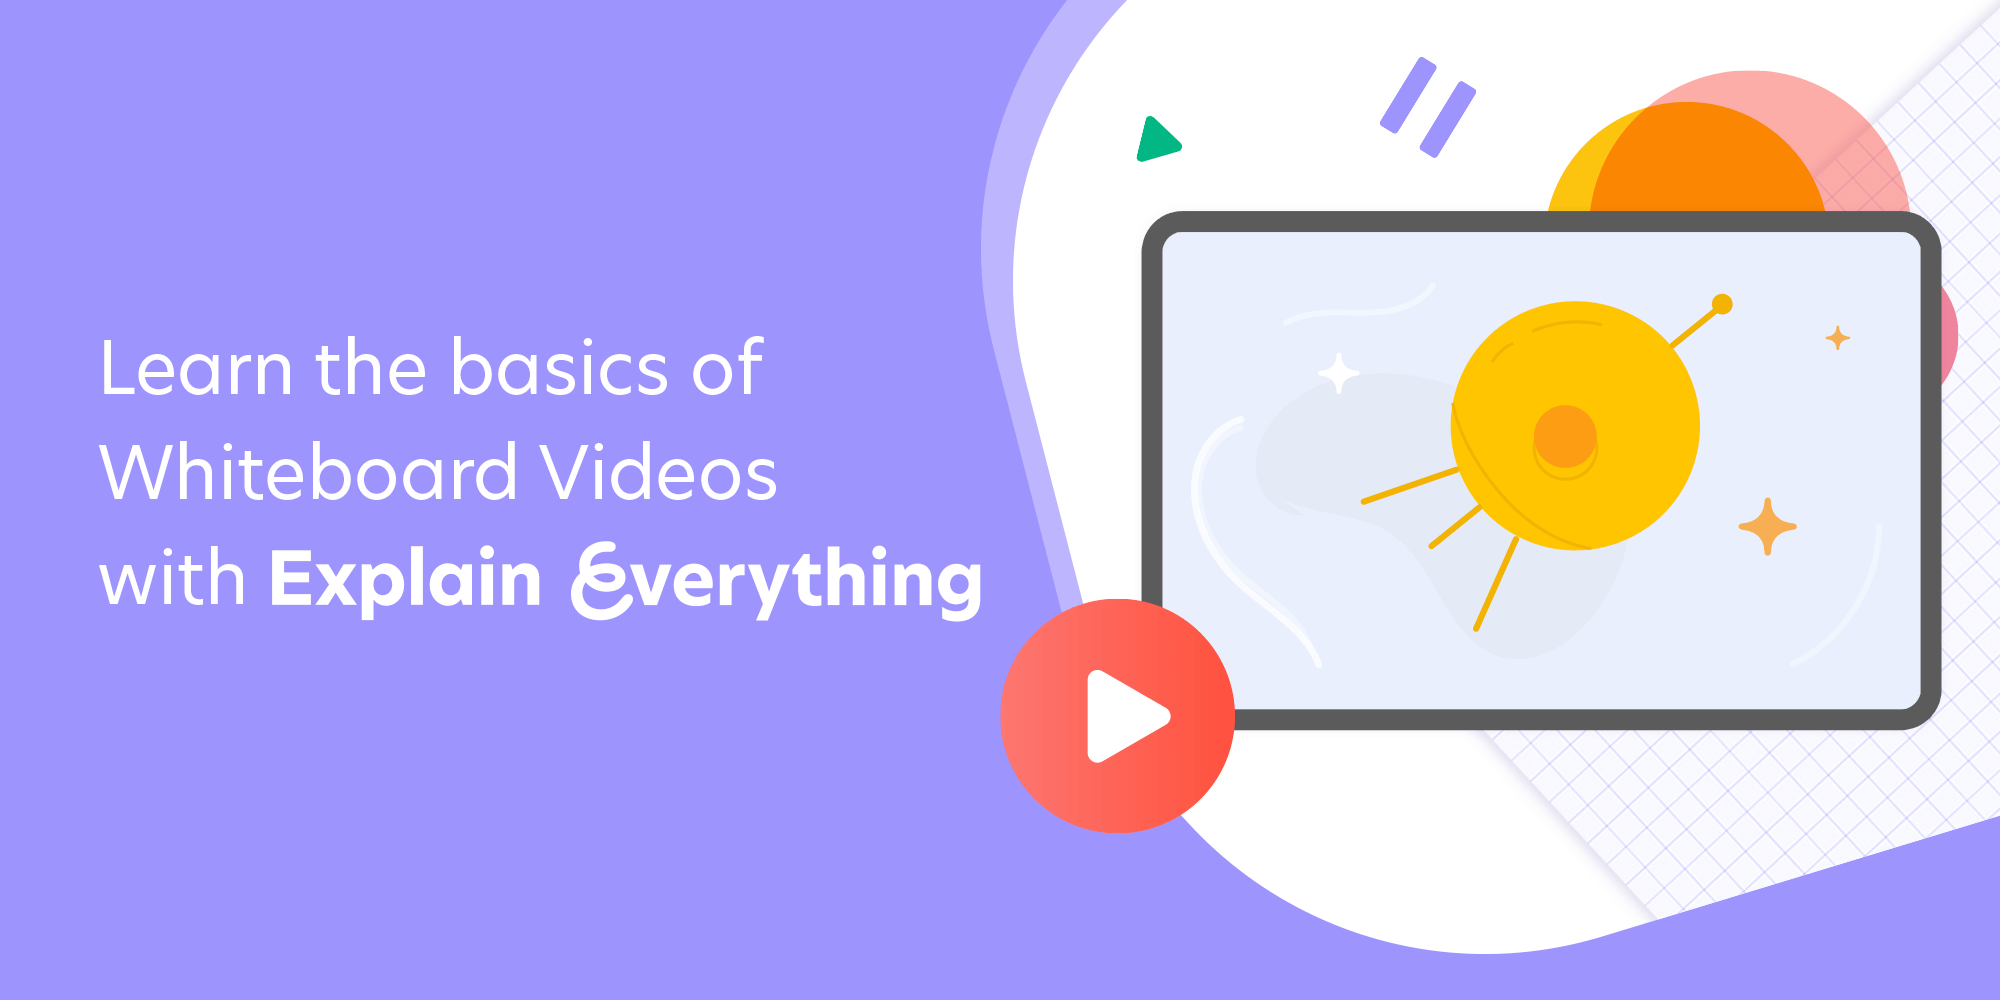
📖 Live broadcast with your whiteboard
This method is great for remote lectures and other situations in which learning requires the participation of large groups whose involvement may be limited to asking questions via voice or chat. In this scenario, the teacher or presenter broadcasts their whiteboard using a video conferencing solution (e.g. Zoom, WebEx Google Meetings) or makes the Explain Everything whiteboard available via a link in a separate browser.
Start broadcasting your whiteboard with these tips
Using an instructional whiteboard is: synchronous — the audience will be participating in real-time, watching the broadcast of a whiteboard.Intended to be used as an extension of existing one-to-many video conference solutions (e.g. Zoom, Teams, Skype, Google Meetings).
Step 1: Have your whiteboard ready to start a conference.
Step 2: Connect a second device to an existing conference to broadcast the screen of your whiteboard.
Alternatively: Join the whiteboard session independently, using your browser.
💡We recommend that you:
– Allow for questions to be asked within your conferencing solution and use the whiteboard as a virtual flipchart.
– Set participants as viewers so they don’t disrupt your instruction with their input when sharing as an Explain Everything link.
Go live with Explain Everything
Get this free video-instruction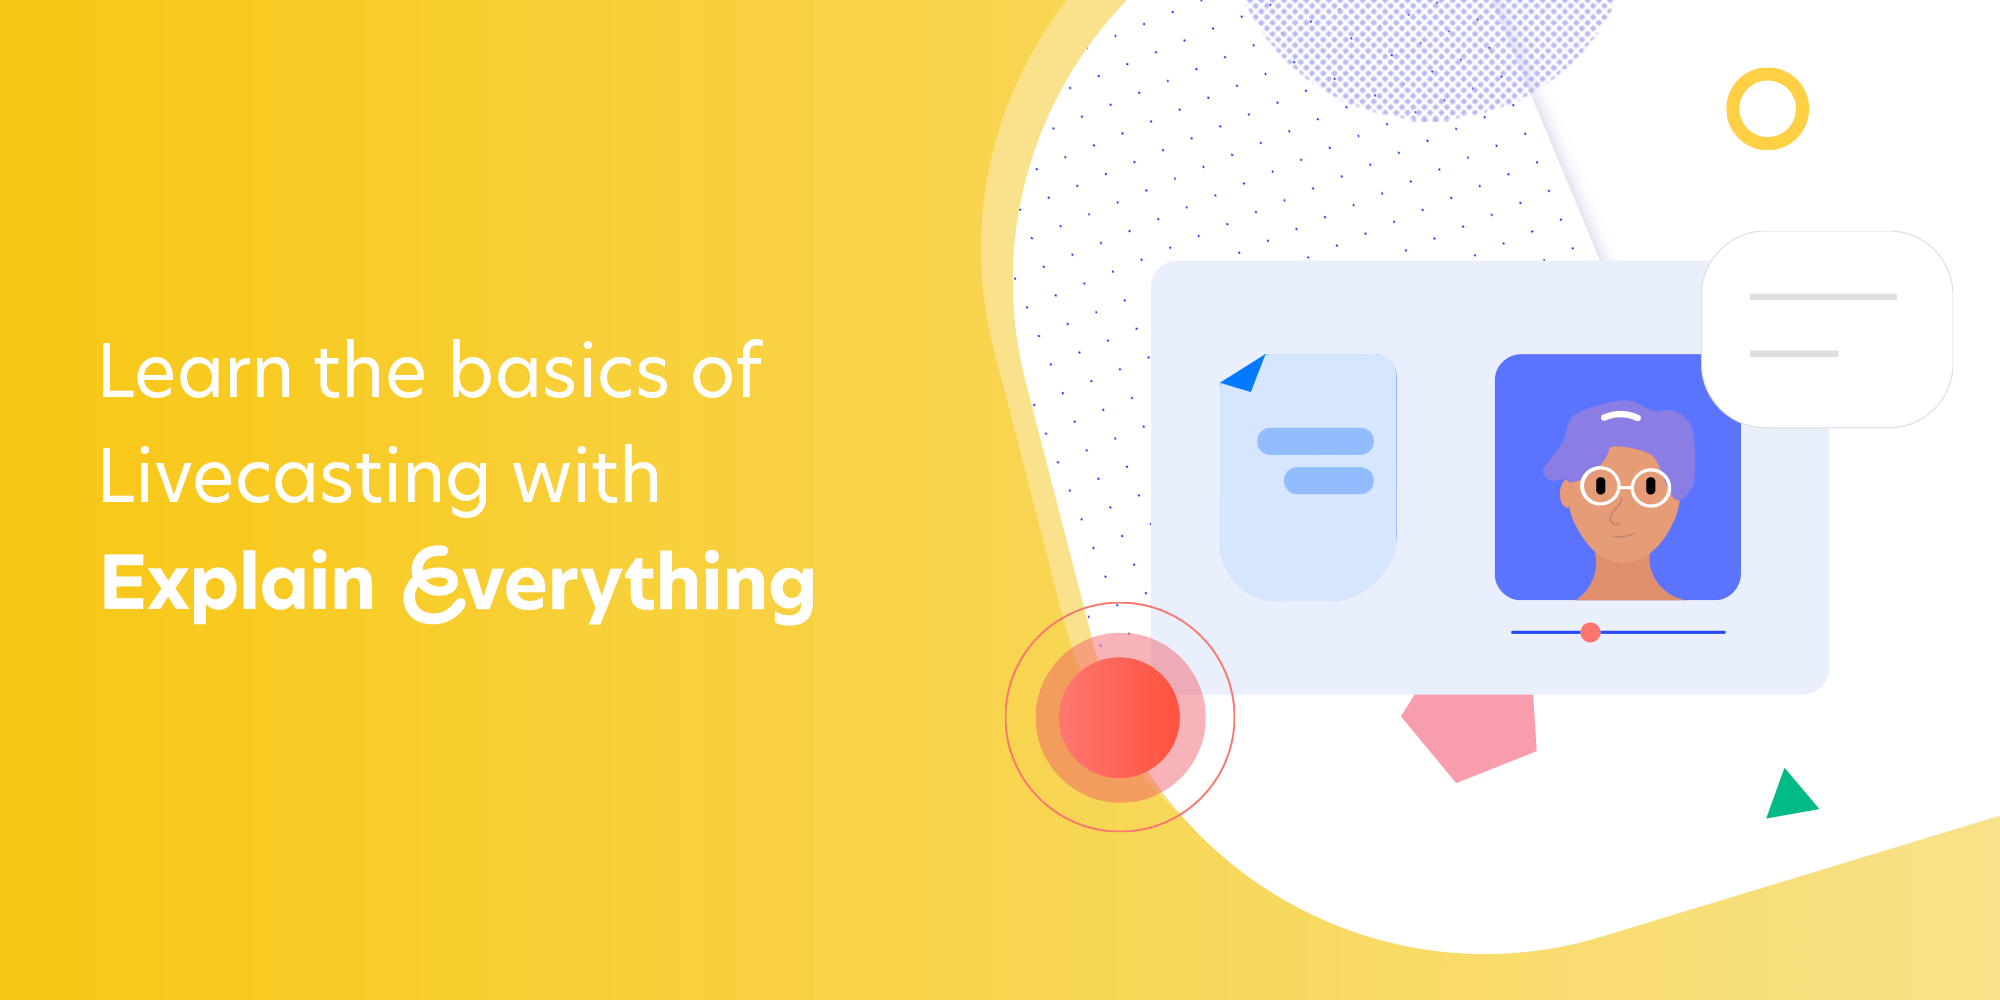
🤝 Work together on the whiteboard
In this scenario, small groups can work together on nearly any set of digital materials on a shared whiteboard canvas. This scenario should be used for small group conversations, brainstorming, and problem solving, and requires Explain Everything Whiteboard (will not work with Explain Everything Basics on iOS).
Collaborative whiteboarding: Is synchronous — participants joined to the whiteboard at the same time can hear one another and see what everyone else is doing.Can also be asynchronous — whiteboard content can be accessed and updated at all times by participants. Uses Explain Everything’s audio chat and real-time collaborative whiteboarding.
Step 1: Any Explain Everything project can be made available to others. Tap Share to upload it to the cloud & set access privileges.
Step 2: Share the access link with participants (using email or a communicator).
Step 3: Everyone with access works together — participants can add elements, edit content independently and review the board from their own distinct perspective.
💡Our recommendations:
– For ad-hoc work, it’s ok to ask unregistered users to join for work. However, if they are to have independent access, ask them to register for an account.
– Keep the number of collaborators small — this will make it easier to facilitate the exchange.
Collaborate in Explain Everything
Get this free video-instruction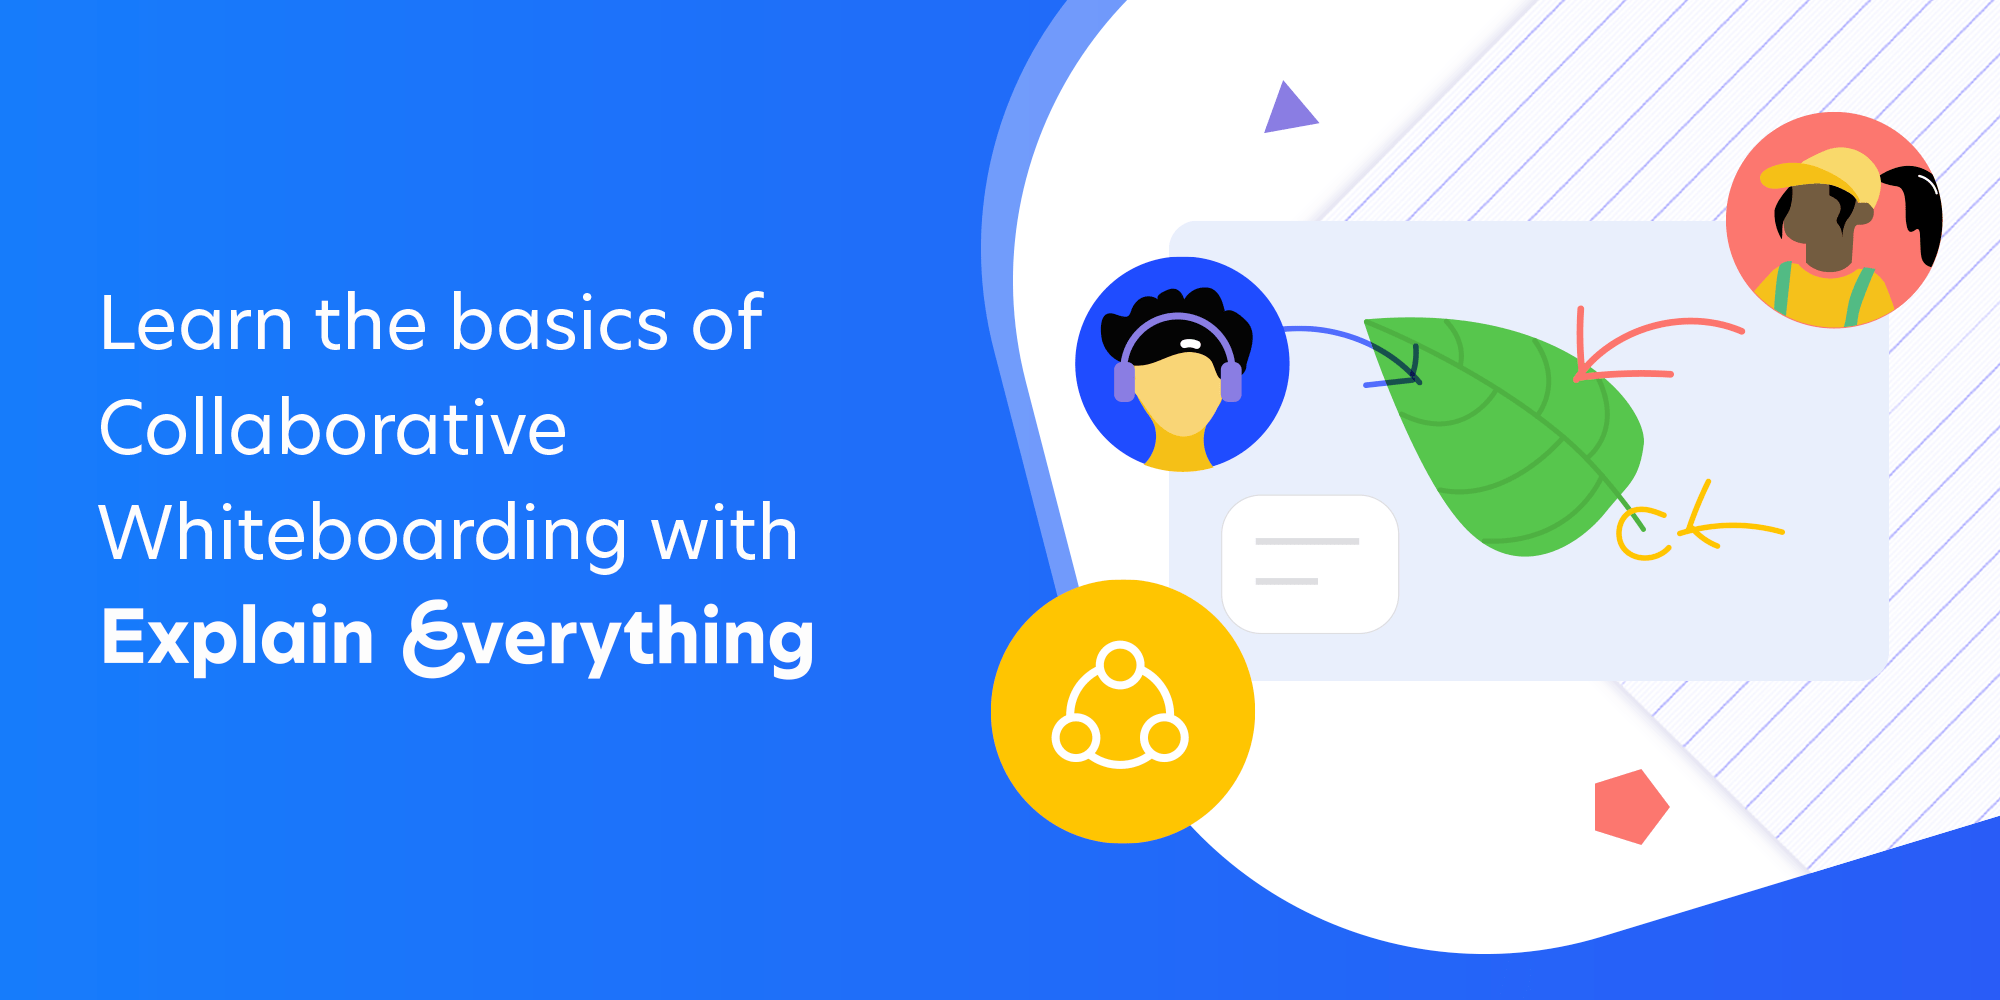
Have a great remote learning experience! 💚🤔 Want to read more?
10 Strategies for Leading Online When School is Closed.
Check out our webinars!🎓
Free Live Webinars- Making a 5E Science Lesson Plan With Explain Everything
- How to Master the “I Do, We Do, You Do” Model Approach to Teaching
- 10 Social-Emotional Learning Activities to Engage Students
- 15 Tips for First Year Teachers
- How to Make a Lesson Plan for English Teachers?

