Import SVG via Placeholder
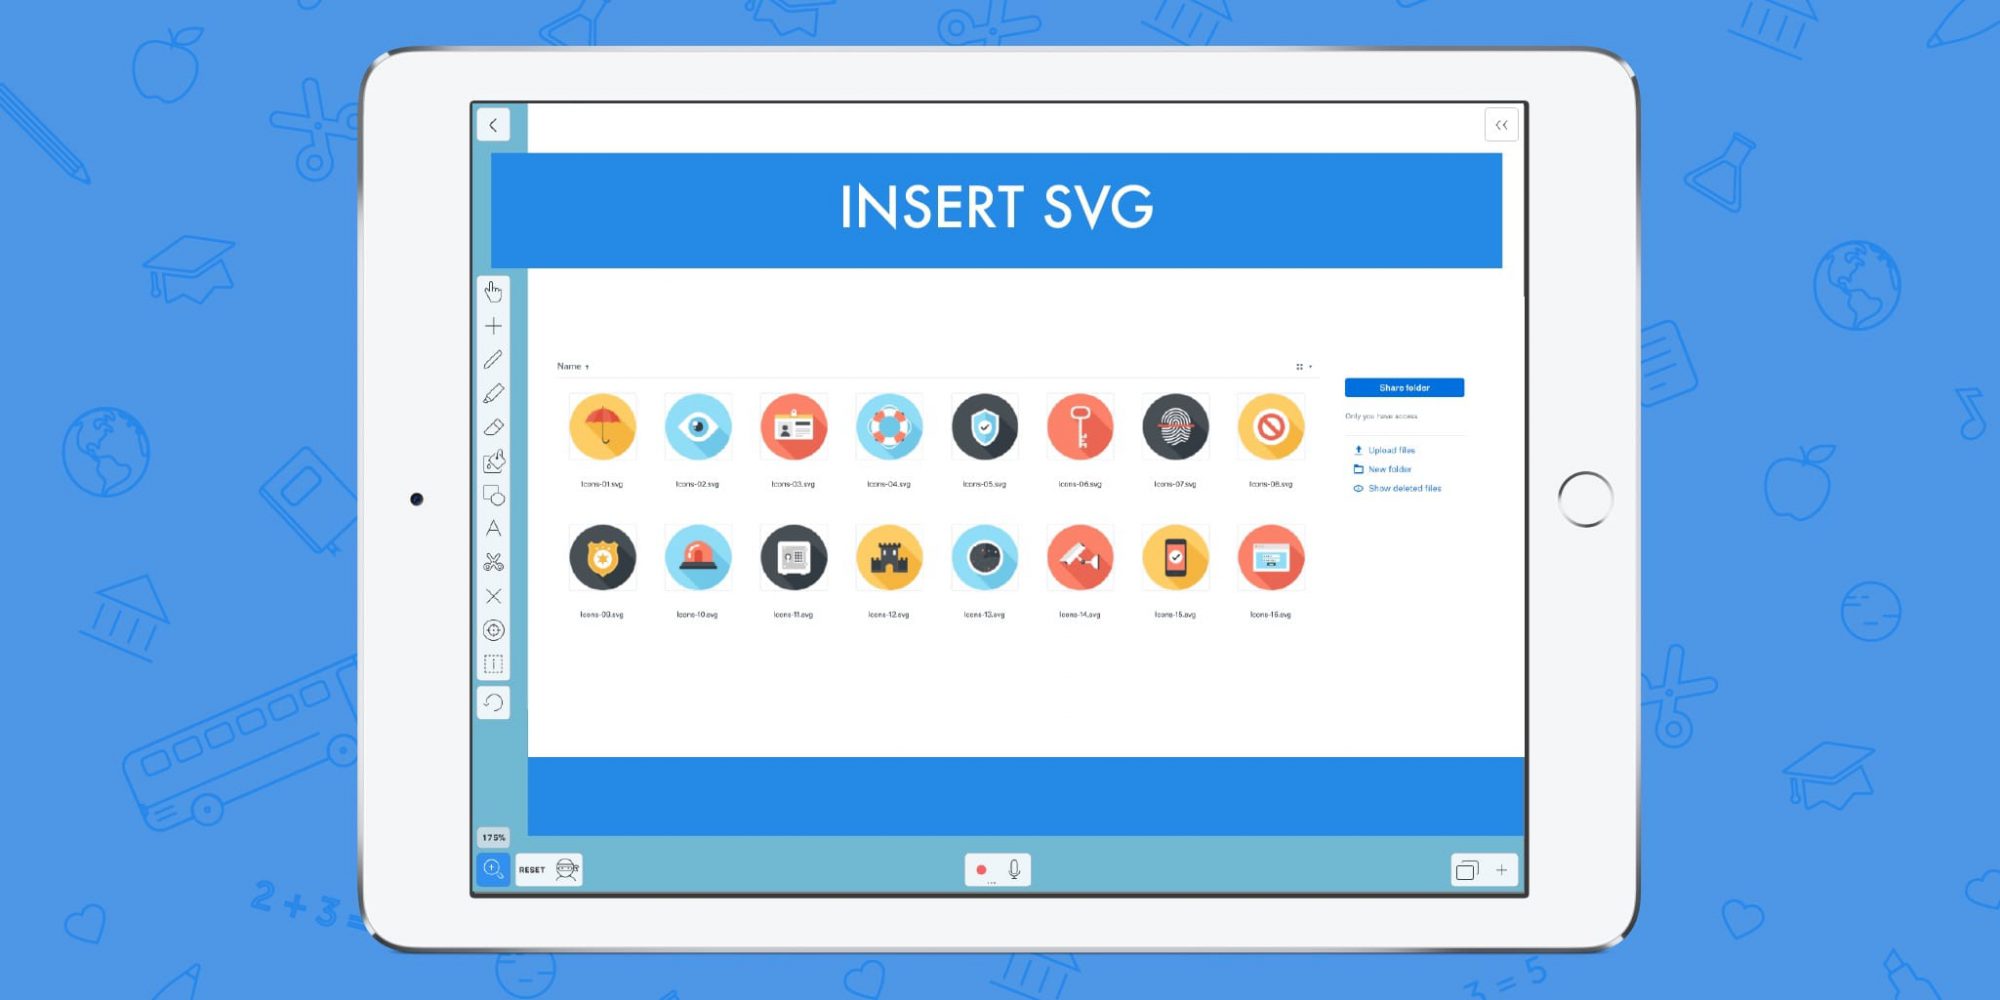
Table of Contents
Check out last week’s tip about building templates using placeholders!
So you’ve created a top-of-the line beautiful Explain Everything project. Your baby. The apple of your eye. But then when you begin zooming in on your delicately crafted assets they turn into pixelated block monsters! Luckily, we came up with an elegant solution. The app now supports SVG files! No more blurry images or pixelated lines, only smooth perfection that, like the app’s canvas, can be infinitely zoomed in and out on.
In this Tuesday Tip we’re going to show you how to import an SVG file using placeholders!
SVG stands for Scalable Vector Graphics and they are essentially simple images that never pixelate or blur. As an added bonus they also have a smaller file size!
What you’ll need:
- A blank Explain Everything project
- An SVG file saved in your favorite cloud source (if you don’t have your own here are some free SVG files for you: happy emoji & angry emoji)
- A working knowledge of placeholders in EE
Step 1
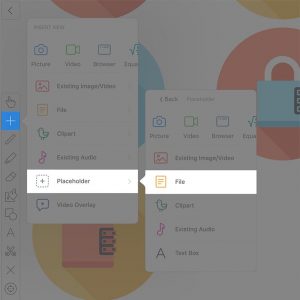
Let’s begin by adding a new placeholder to the canvas. Remember last week’s tip regarding using placeholders to build templates? Tap Insert -> Placeholder -> File and position the placeholder as you like on your canvas.
Keep in mind you don’t HAVE to use a placeholder to insert an SVG file, but what’s wrong with a little extra practice?
Step 2
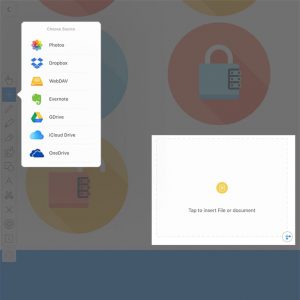
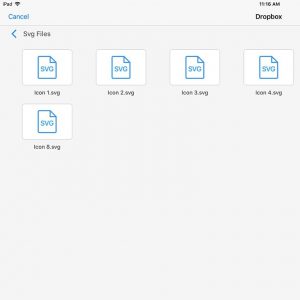
Next, tap the placeholder and then choose File on the opened menu. Then tap the cloud service where you stored your SVG file. Navigate to your SVG file, select it, then tap Import. A preview of what your SVG will look like will then pop up. If everything looks good, tap Yes!
Your SVG will then appear on your canvas.
Pro Tips:
- Create an SVG graph and then zoom in and add in depth details to each portion
- Too many images making your project file too large? Turn them into SVGs and take advantage of their small file sizes
- Create a special folder in your cloud source to store your SVG files for easy access
Step 3
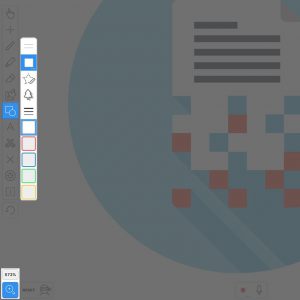
Now, tap the Zoom tool and zoom way in on your SVG until it fills the screen. Once zoomed, tap the Shape tool and create a shape that almost fills the screen. Add another SVG file here by tapping Insert -> File and then choose your cloud source just like Step 2.
With SVGs you can continue this pattern and have an image inside an image inside an image on and on without ever seeing one little pixel!
Happy Explaining!
Do you use Explain Everything in an interesting way or would like to see something explored in depth? Contact us at connect@explaineverything.com with your suggestions!

